Building a portable 2m yagi
Weight saving for portable ops
I’ve been enjoying activating SOTA summits on 2m, and after visiting Glas Maol and seeing how far I could get with an omni directional antenna, and watching videos of people using a 2m yagi to get into England from the highlands, I wanted to build a yagi.
All my research pointed me towards DK7ZB’s designs, specifically the lightweight ones. I decided the 4 element design with a 1m boom was optimal between gain and practicalities. This has a gain of 7 dBd and a front to back ratio of 12 dB. It also has the advantage of being able to use it with 70 cms.
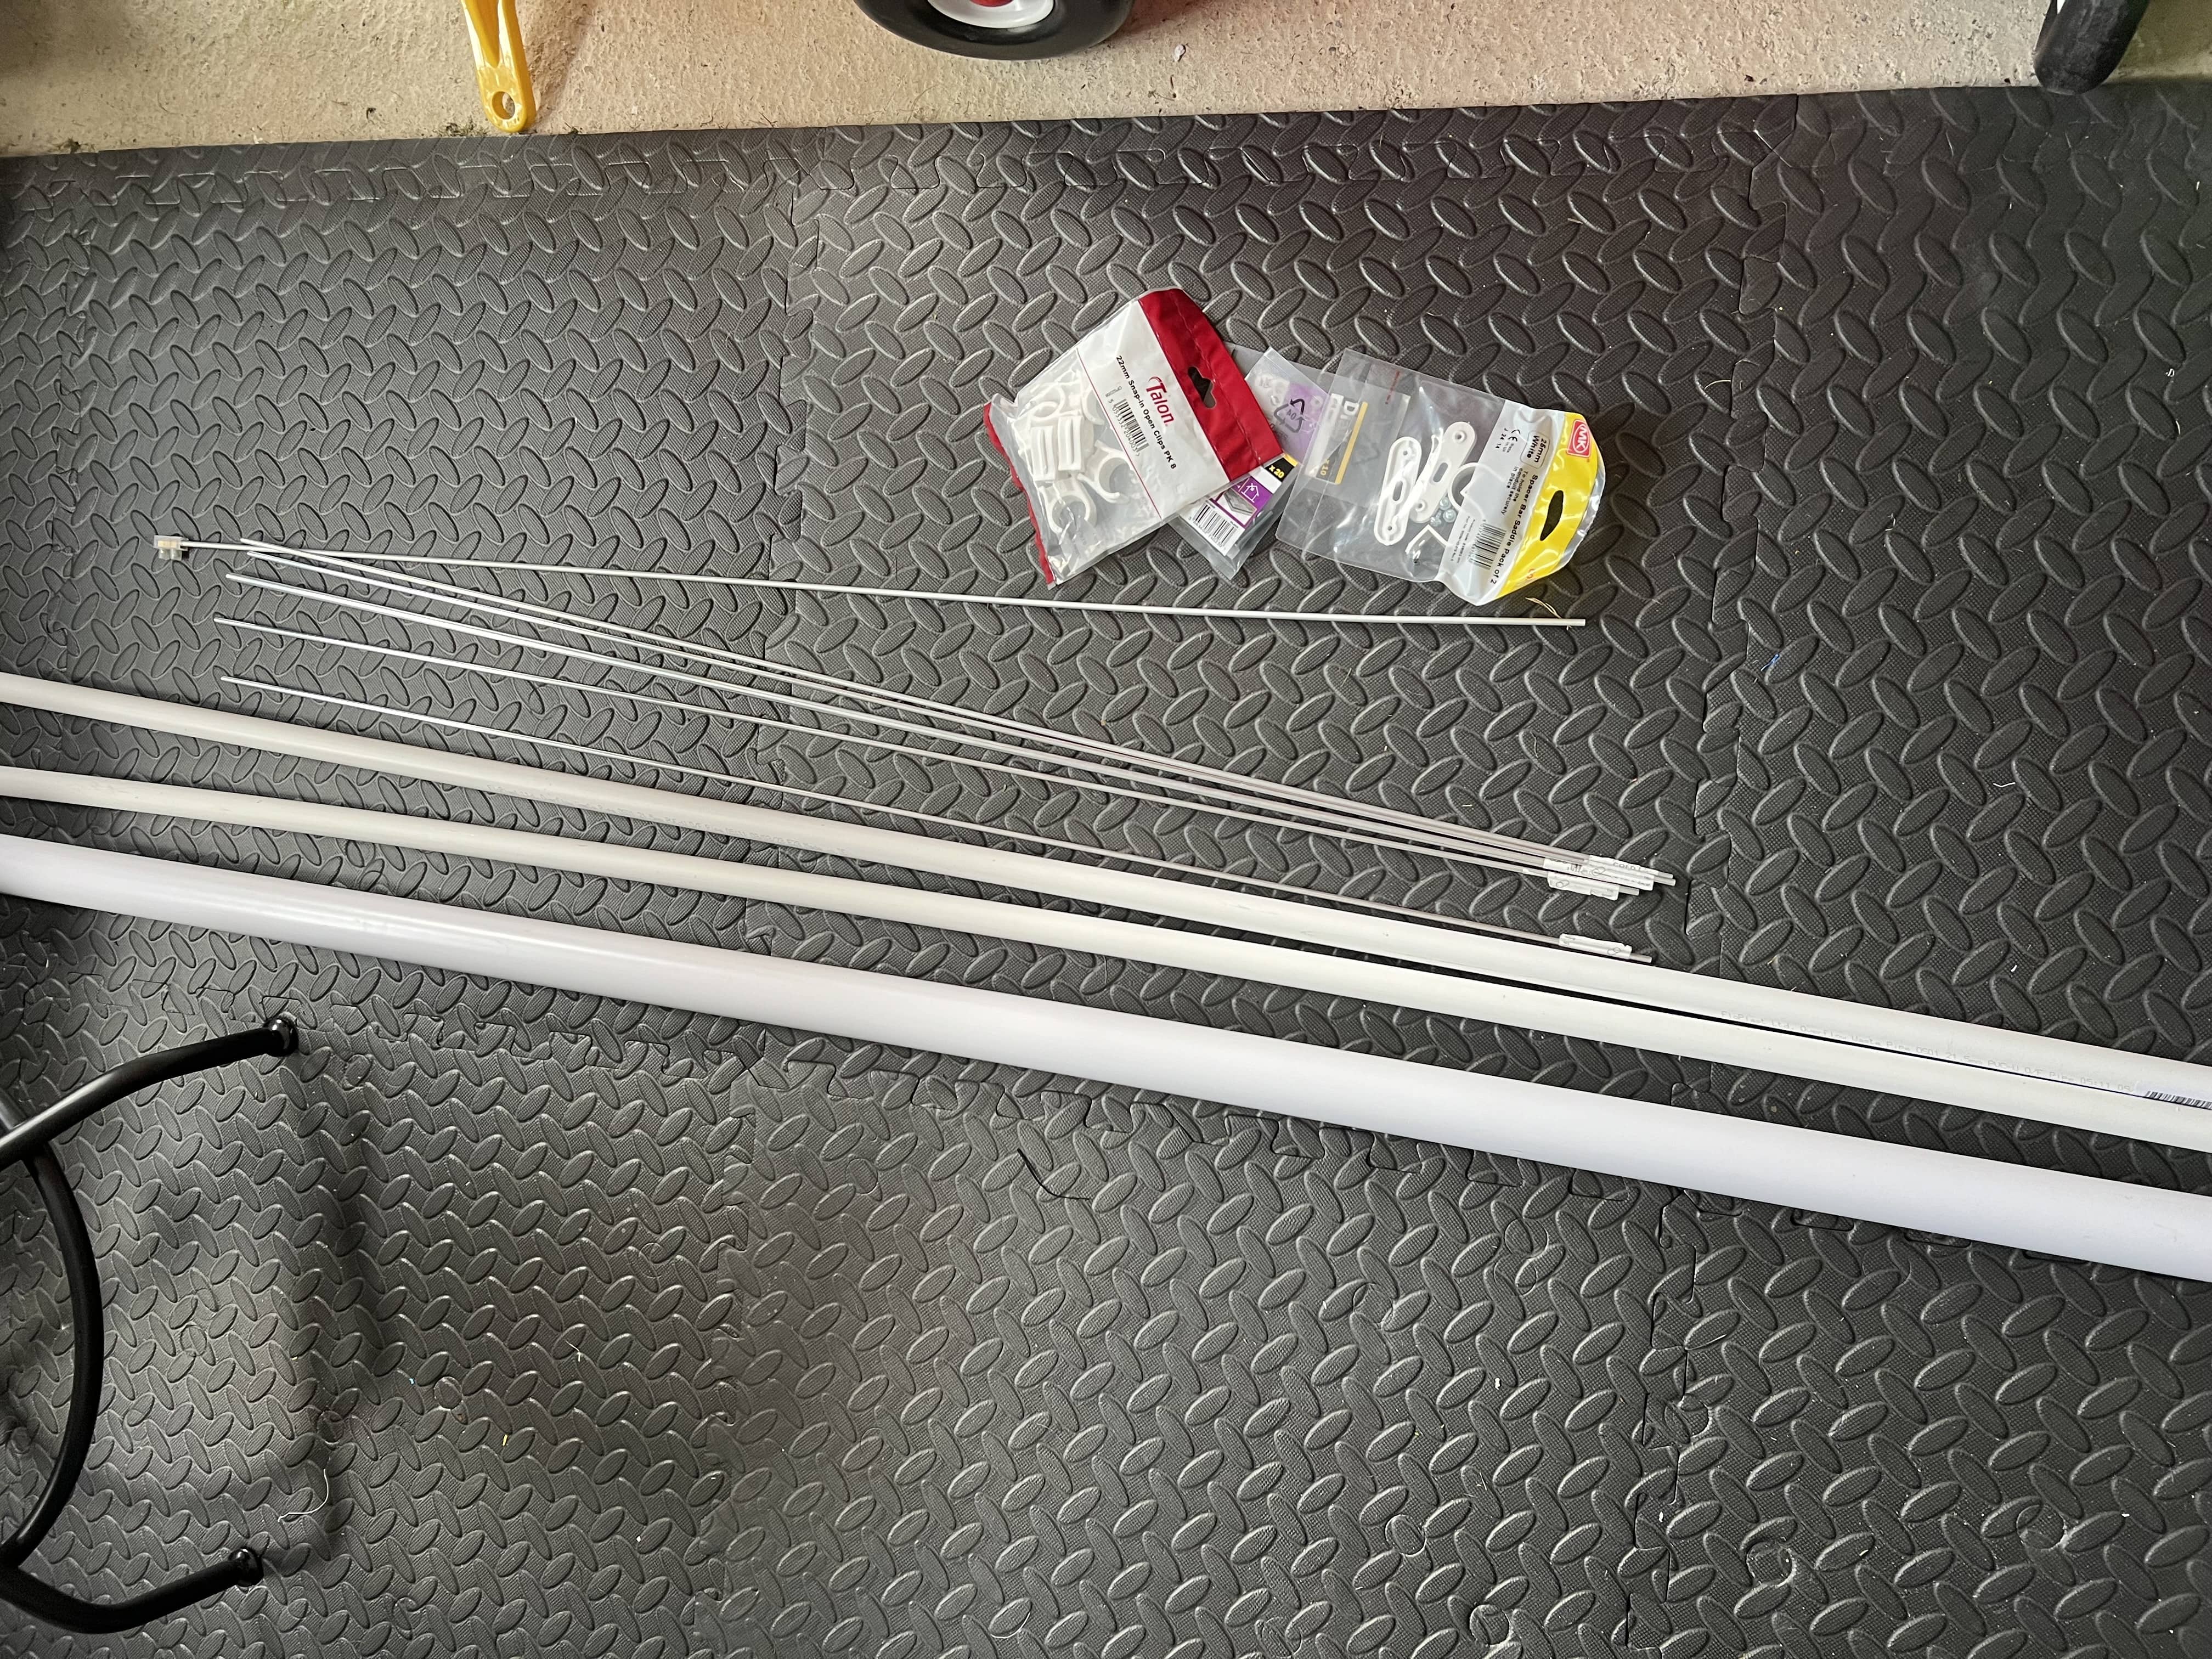
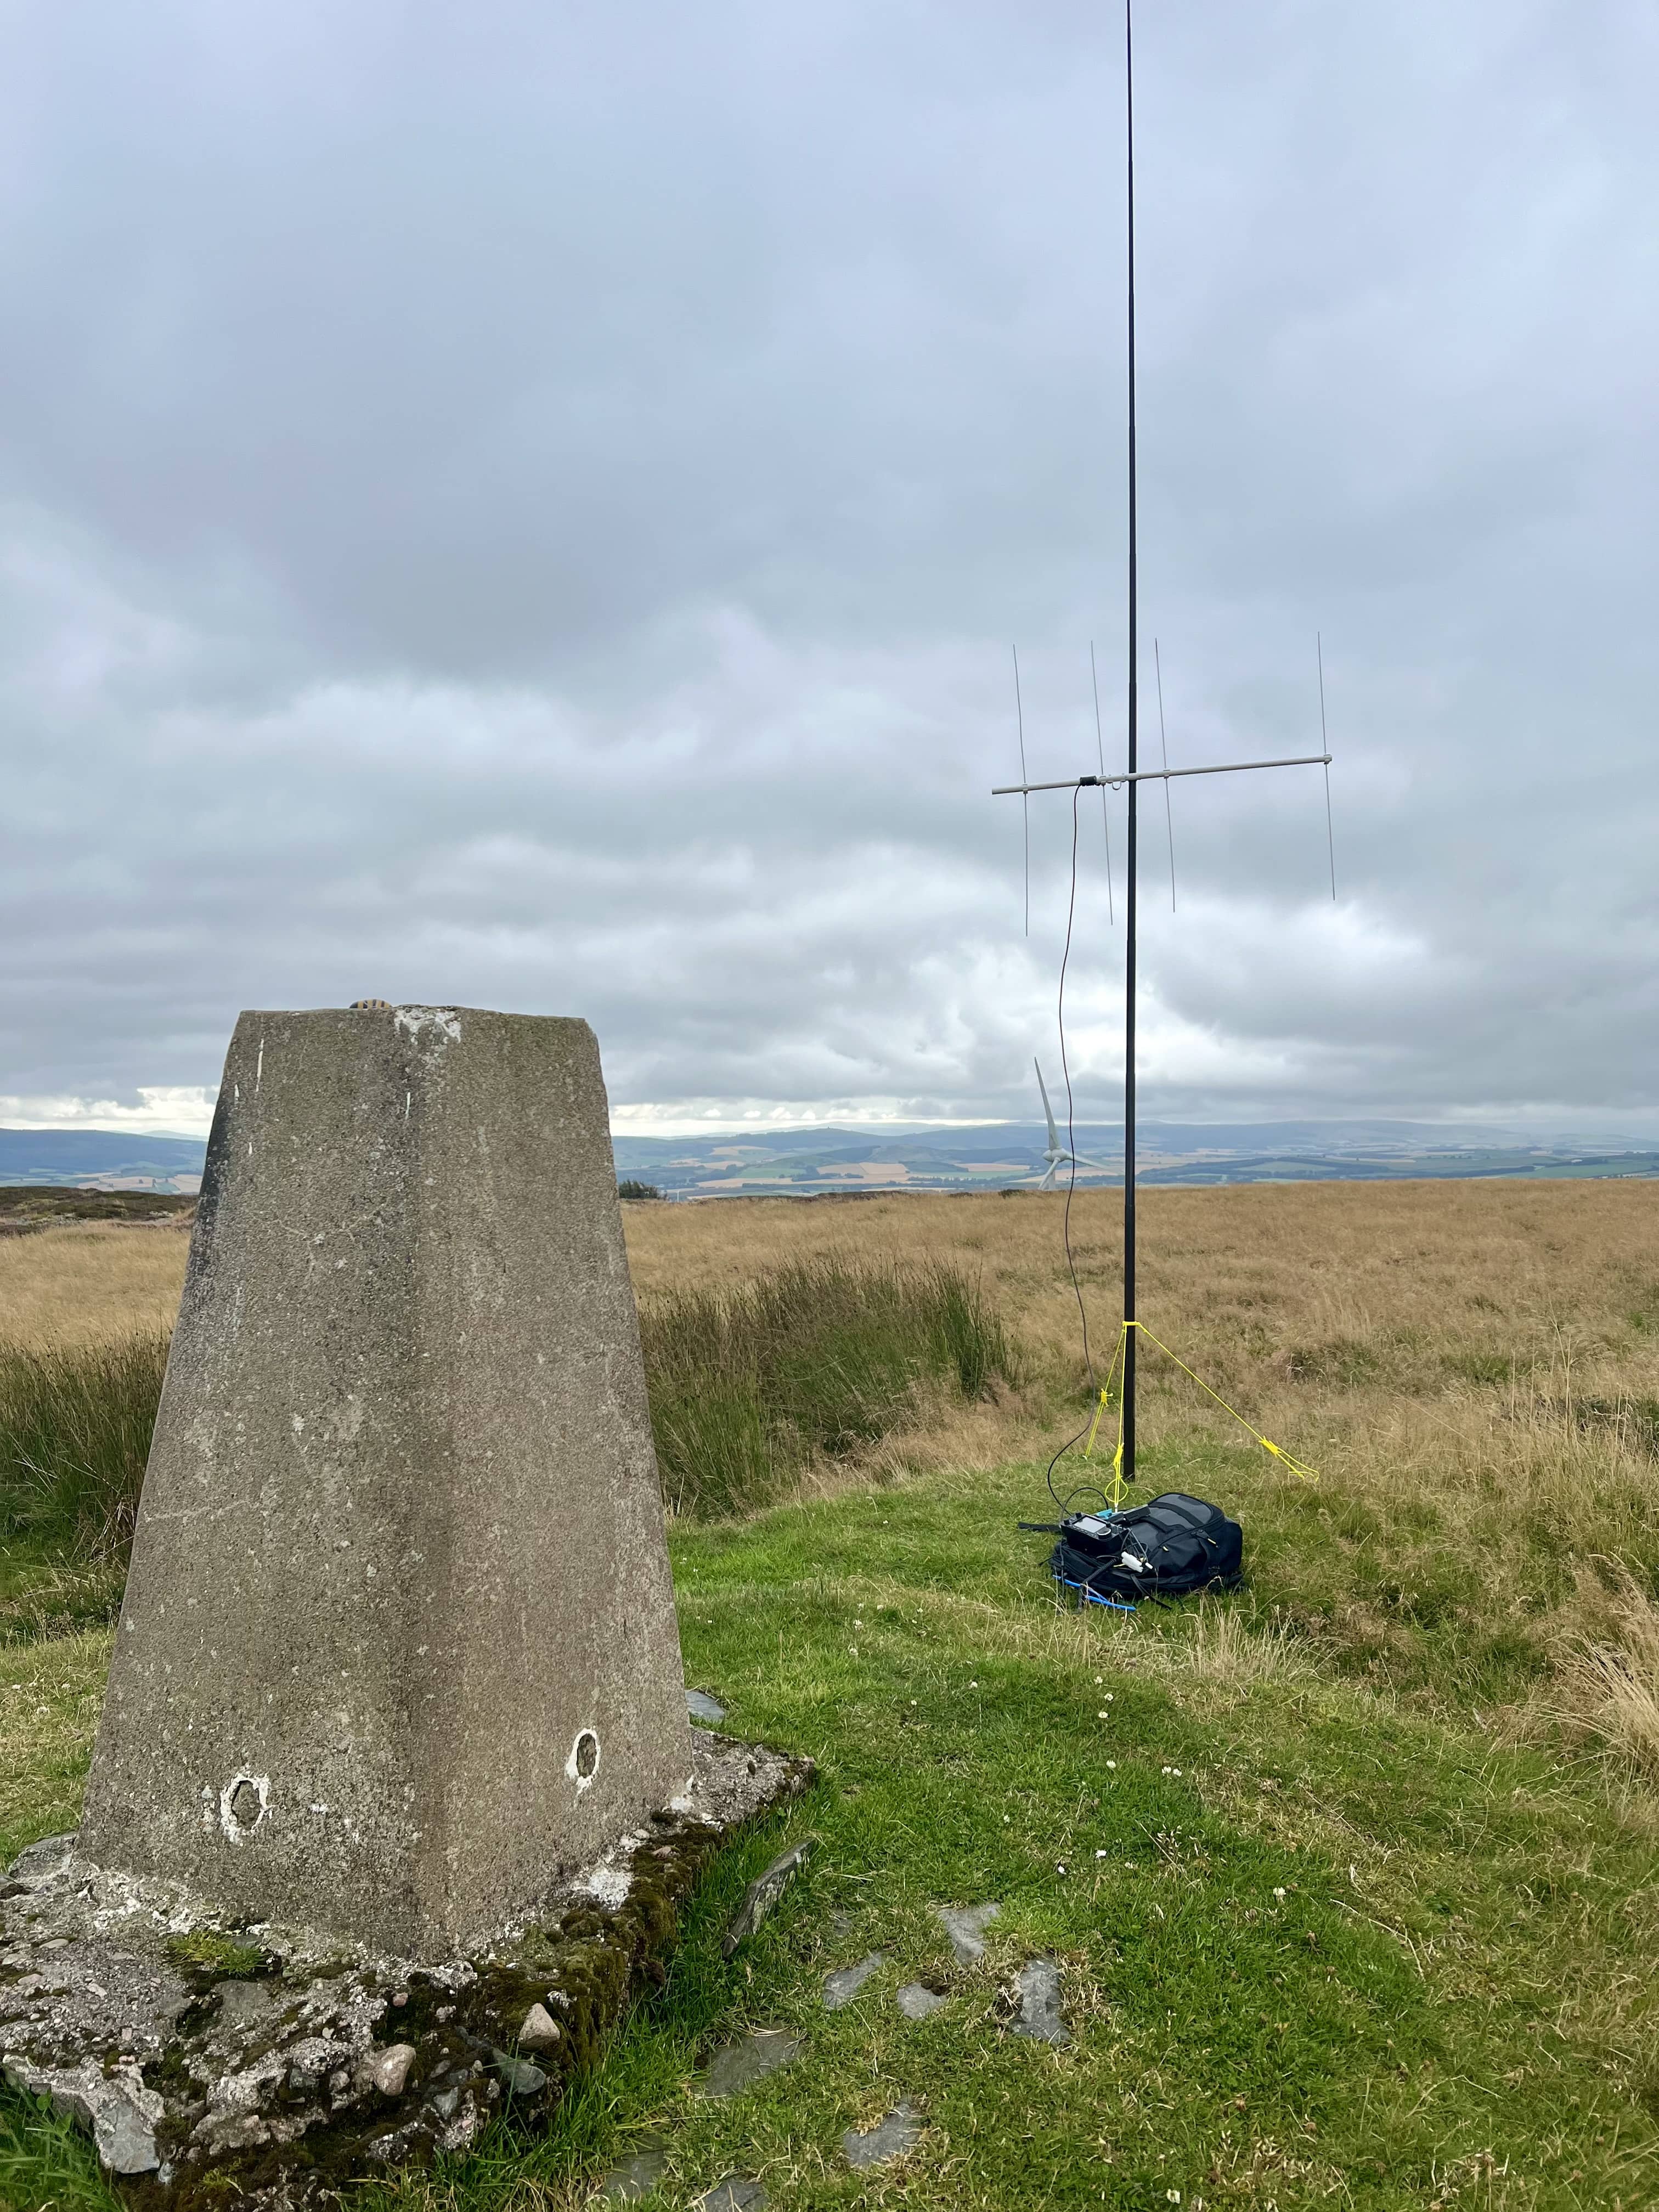
I went to B&Q and bought some 22mm PVC pipe, some wall clips, 4mm aluminium rods, and a 6mm aluminium tube. I already had some electrical connector blocks and RG58 cable at home. I made the boom a little longer than 1m, so I could hand hold it if I wanted to, otherwise it only needs to be 1m in length.
| Positions along boom (mm) | Length of element (mm) | |
|---|---|---|
| Reflector | 0 | 1020 |
| Radiator | 260 | 977 |
| Director 1 | 470 | 930 |
| Director 2 | 985 | 910 |
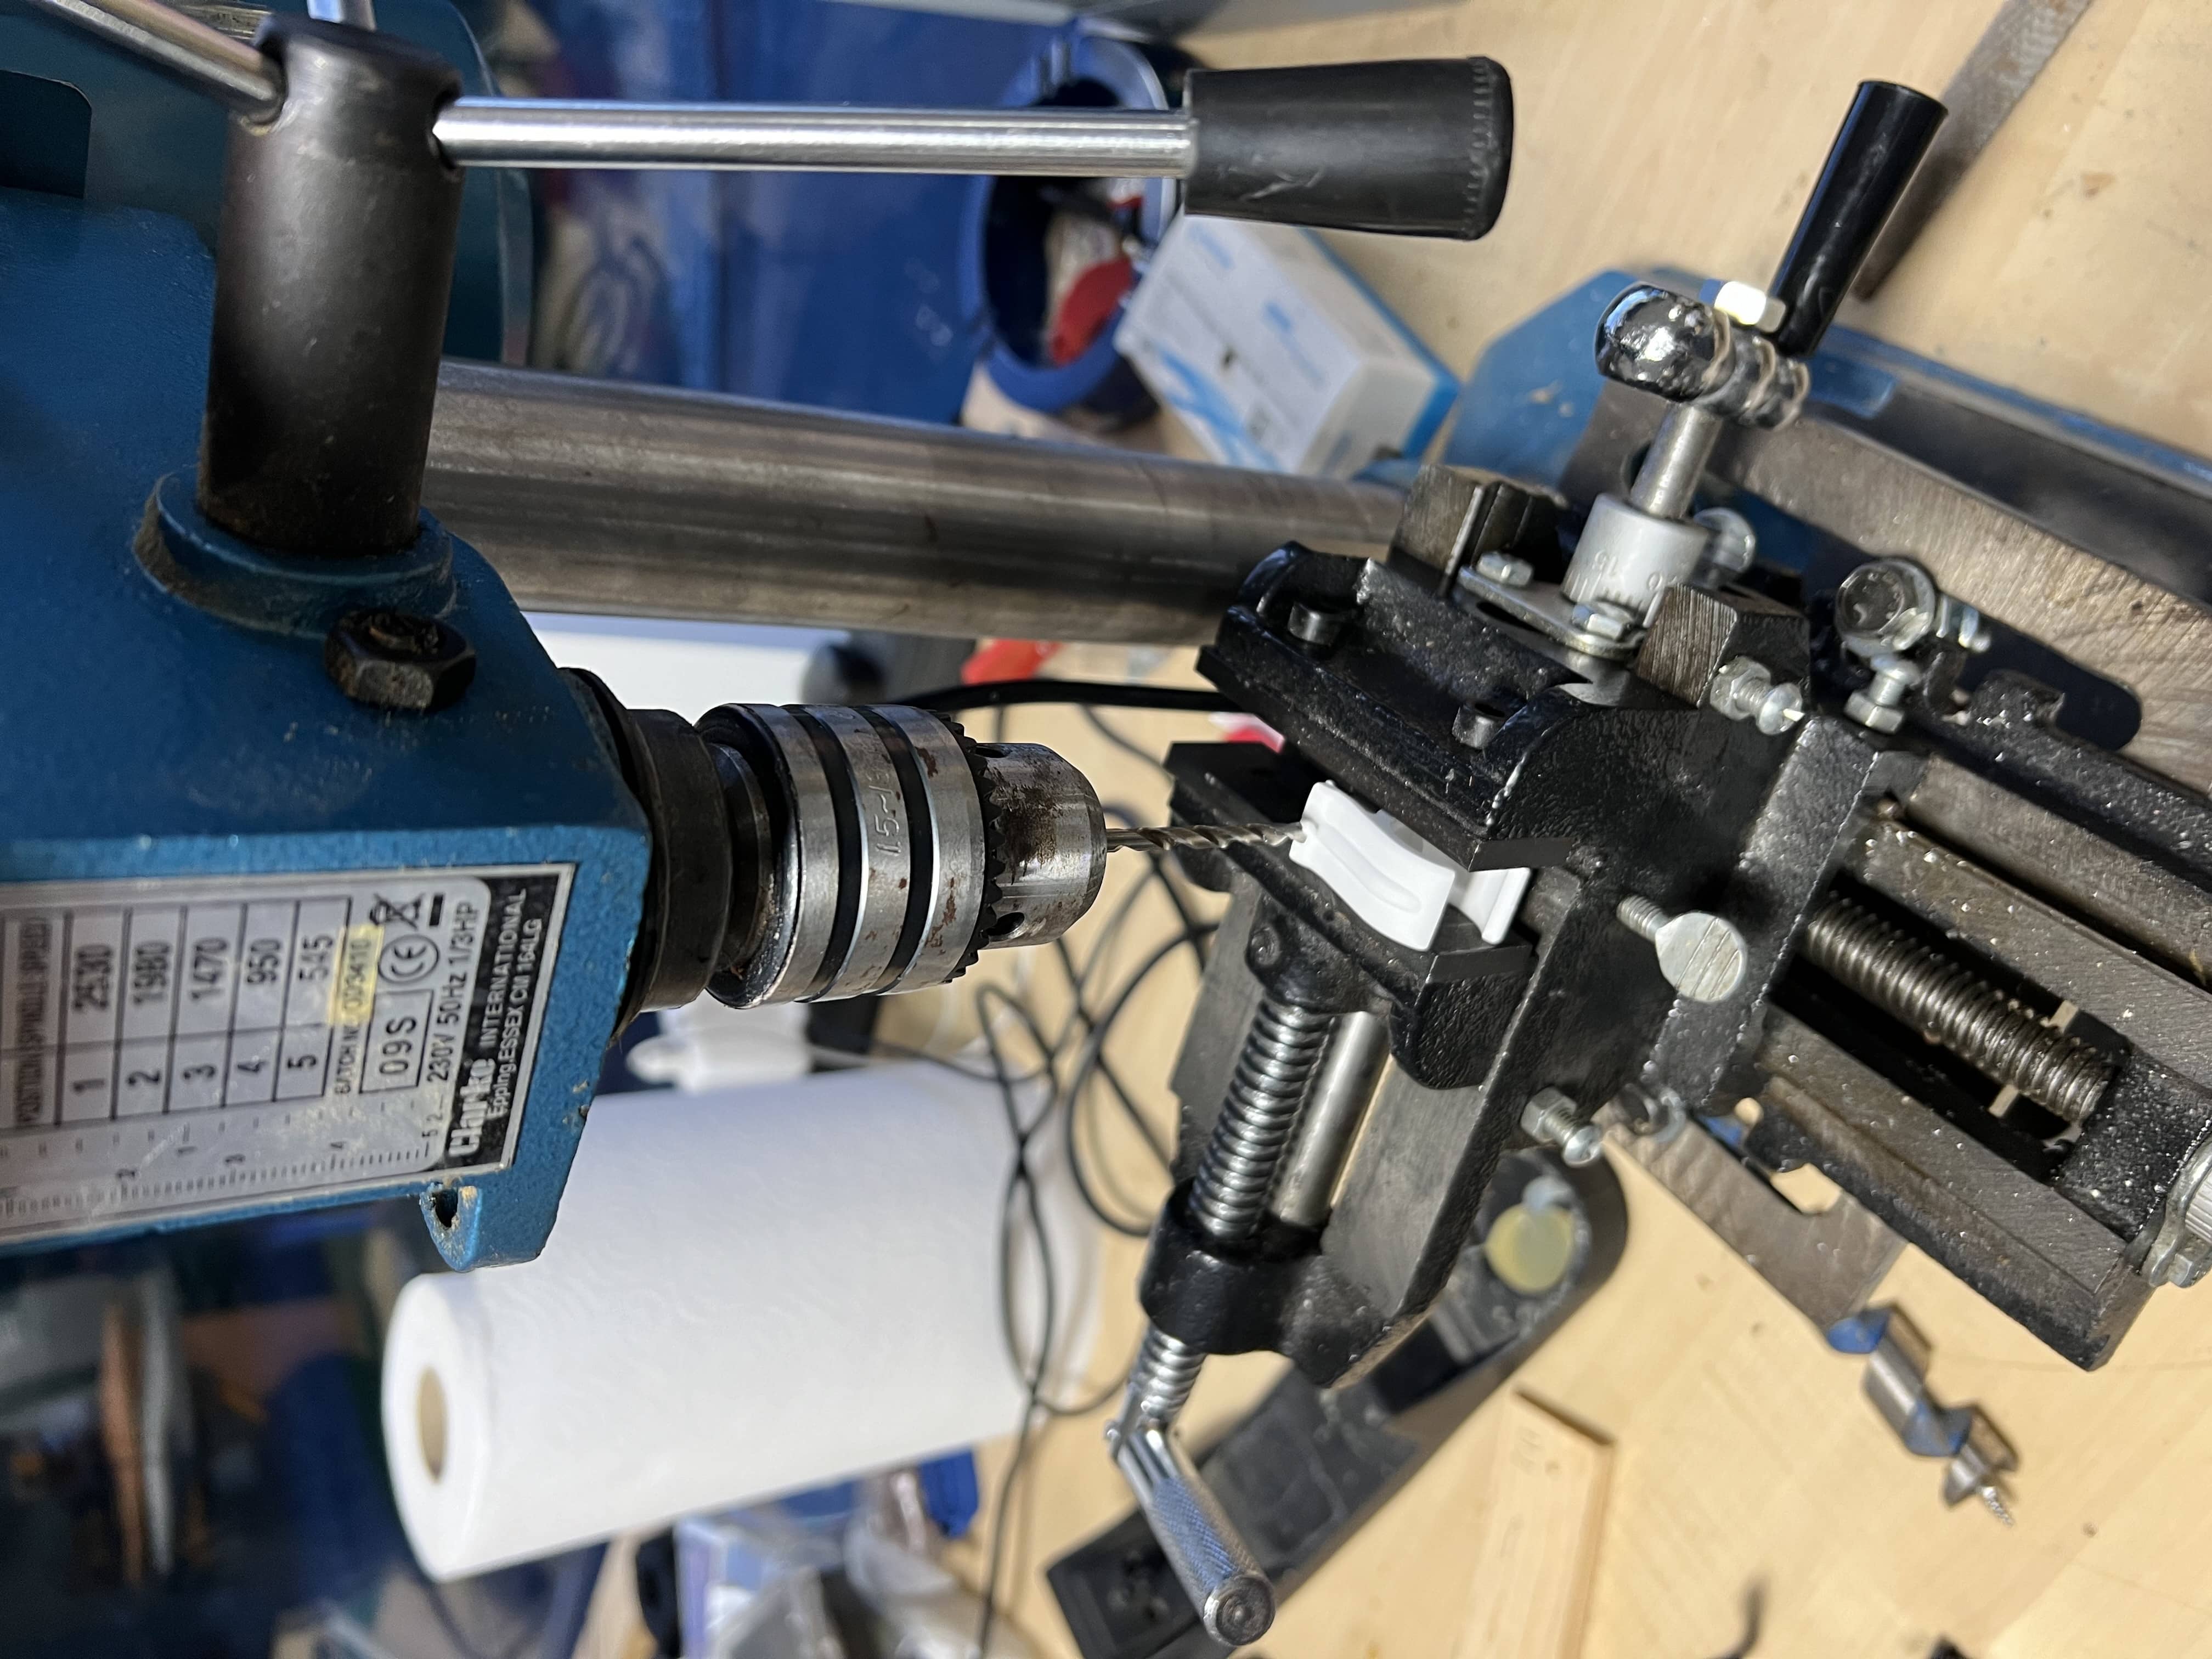
VK1AD’s post on building a similar yagi helped me decide how to mount everything to the boom, and I set to cutting the aluminium rods and drilling the holes in the clamp. The directors are easy, as they just slide through the clamp as a single piece. The reflector is slightly longer than 1m which the rods come in, so I used the 6mm tube as a connector between two 4mm rods. Sounds good in theory but it’s tricky to get the rods into the tube - precision hammering needed.
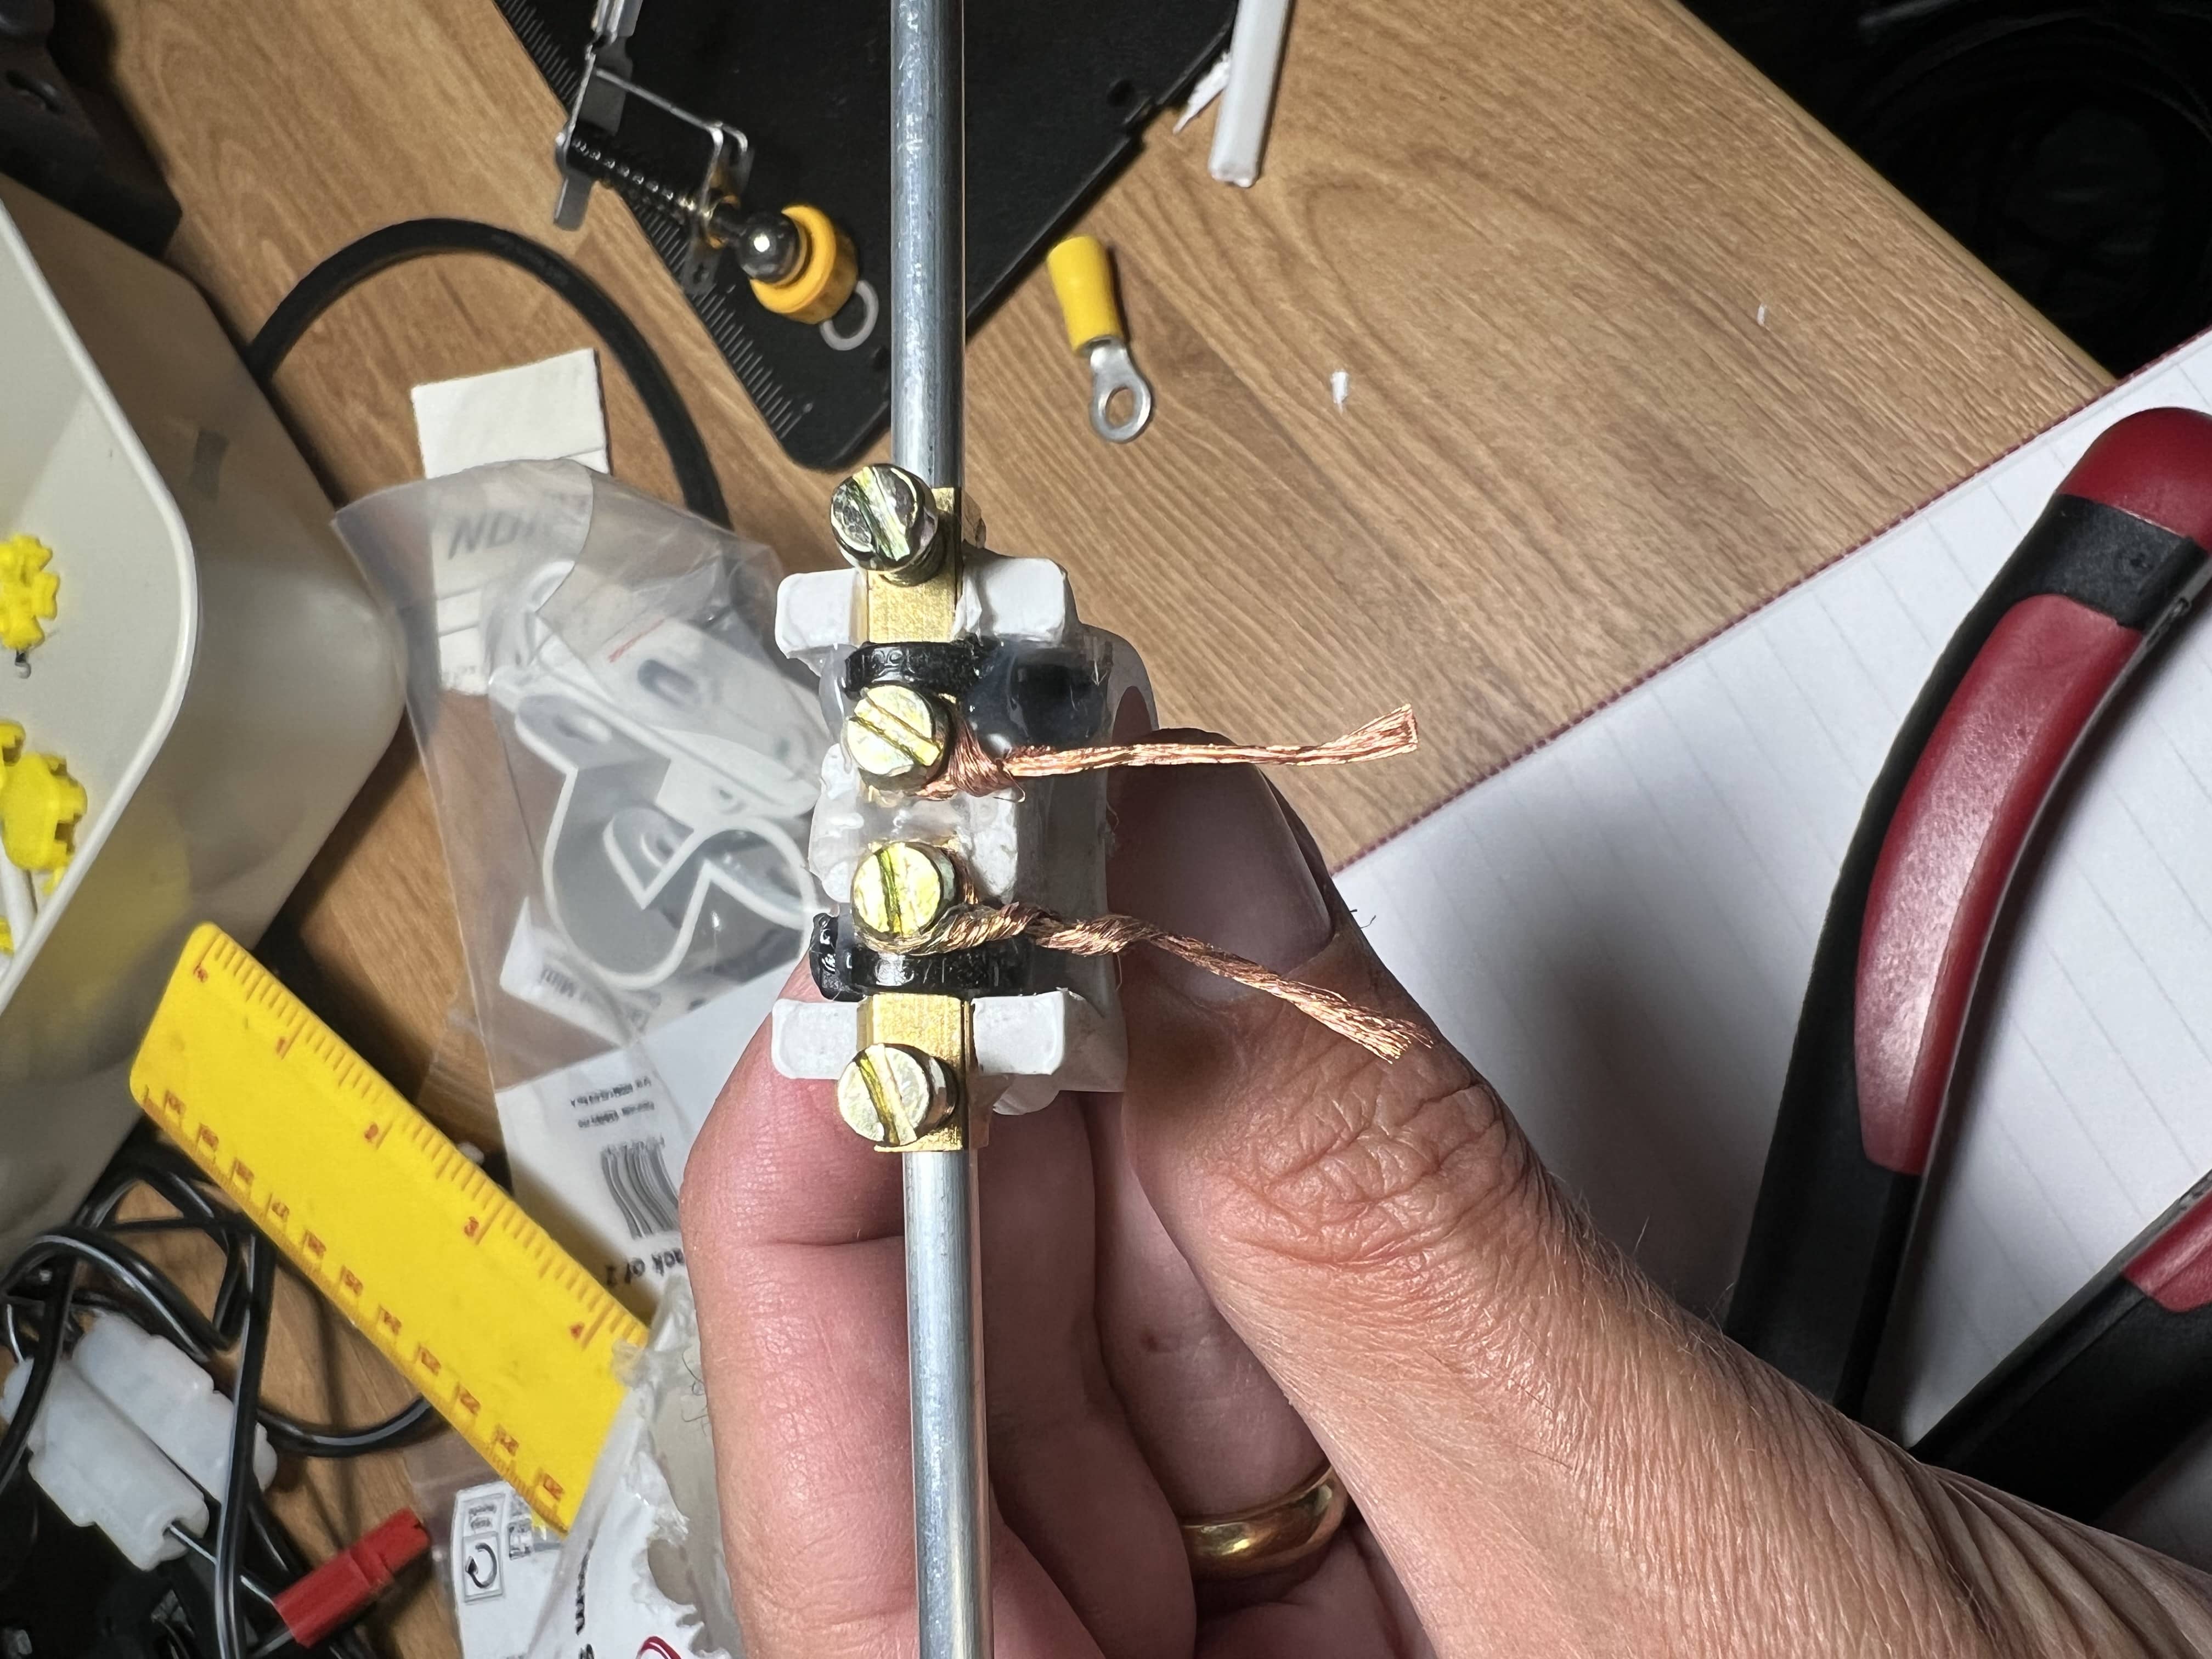
The driven element used the connectors from inside an electrical connector block, zip tied and then glued into one of the clamps. I used some solder wick to attach the coax to and screwed the elements in on each side.
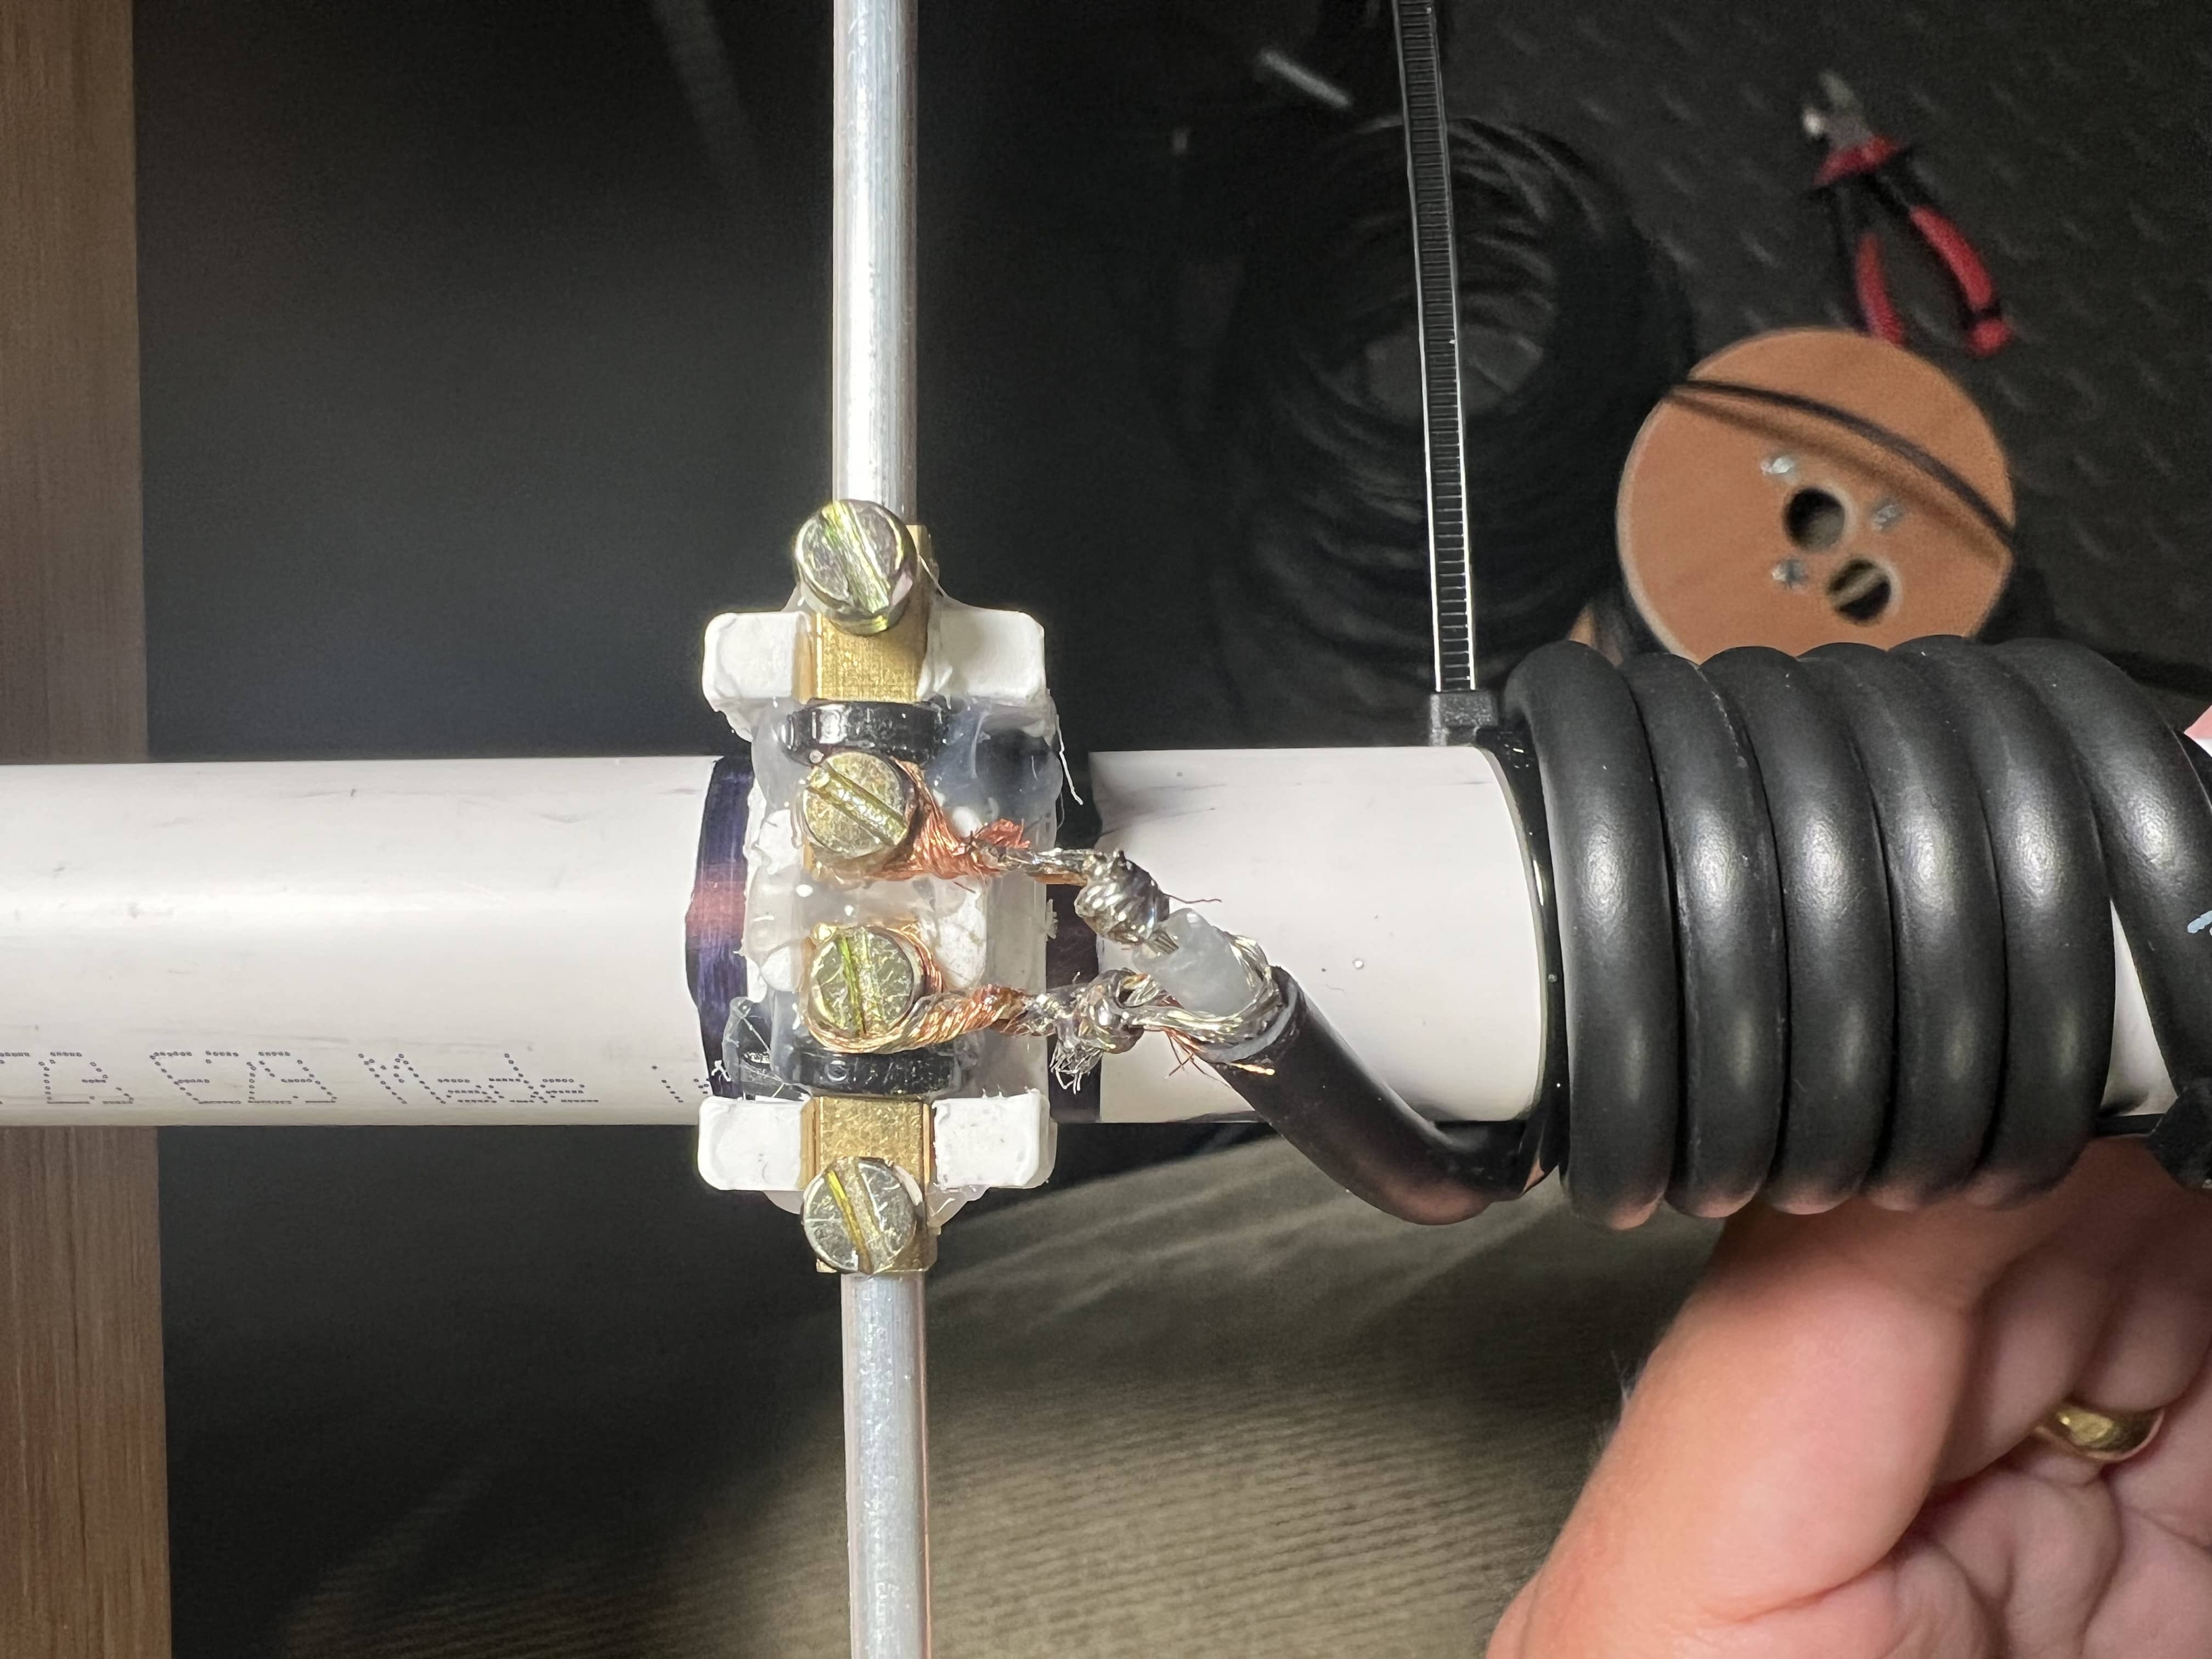
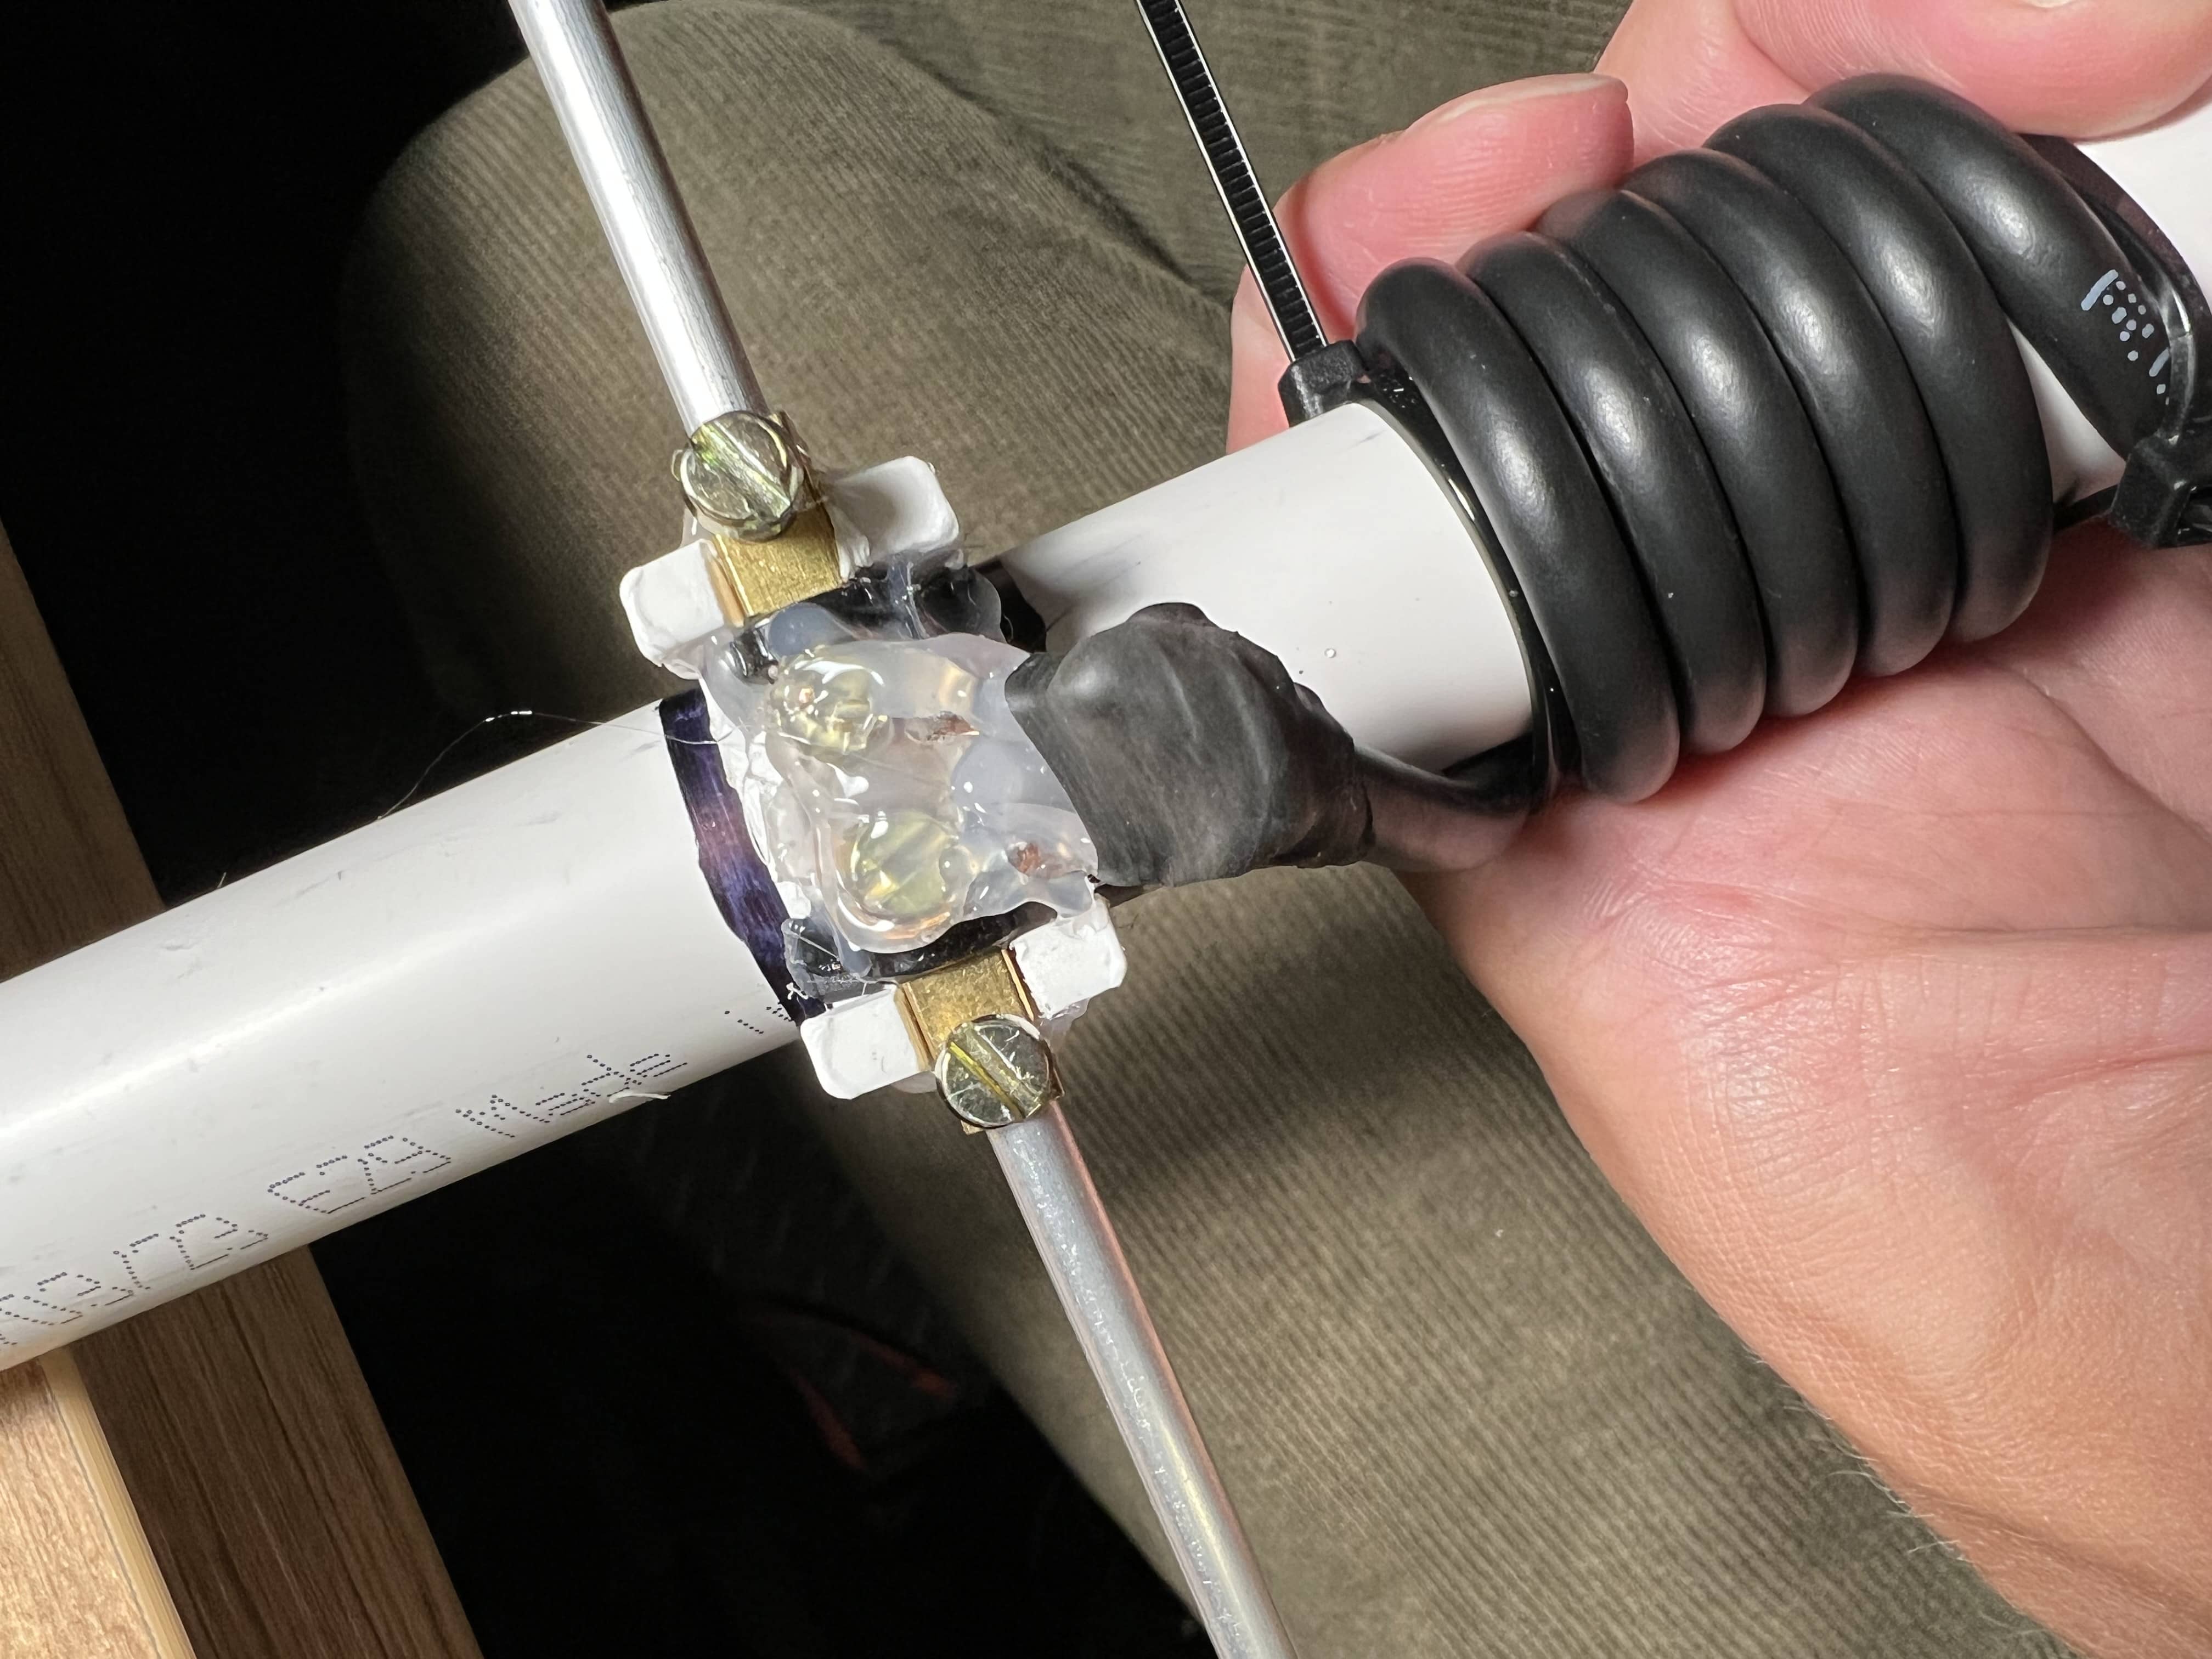
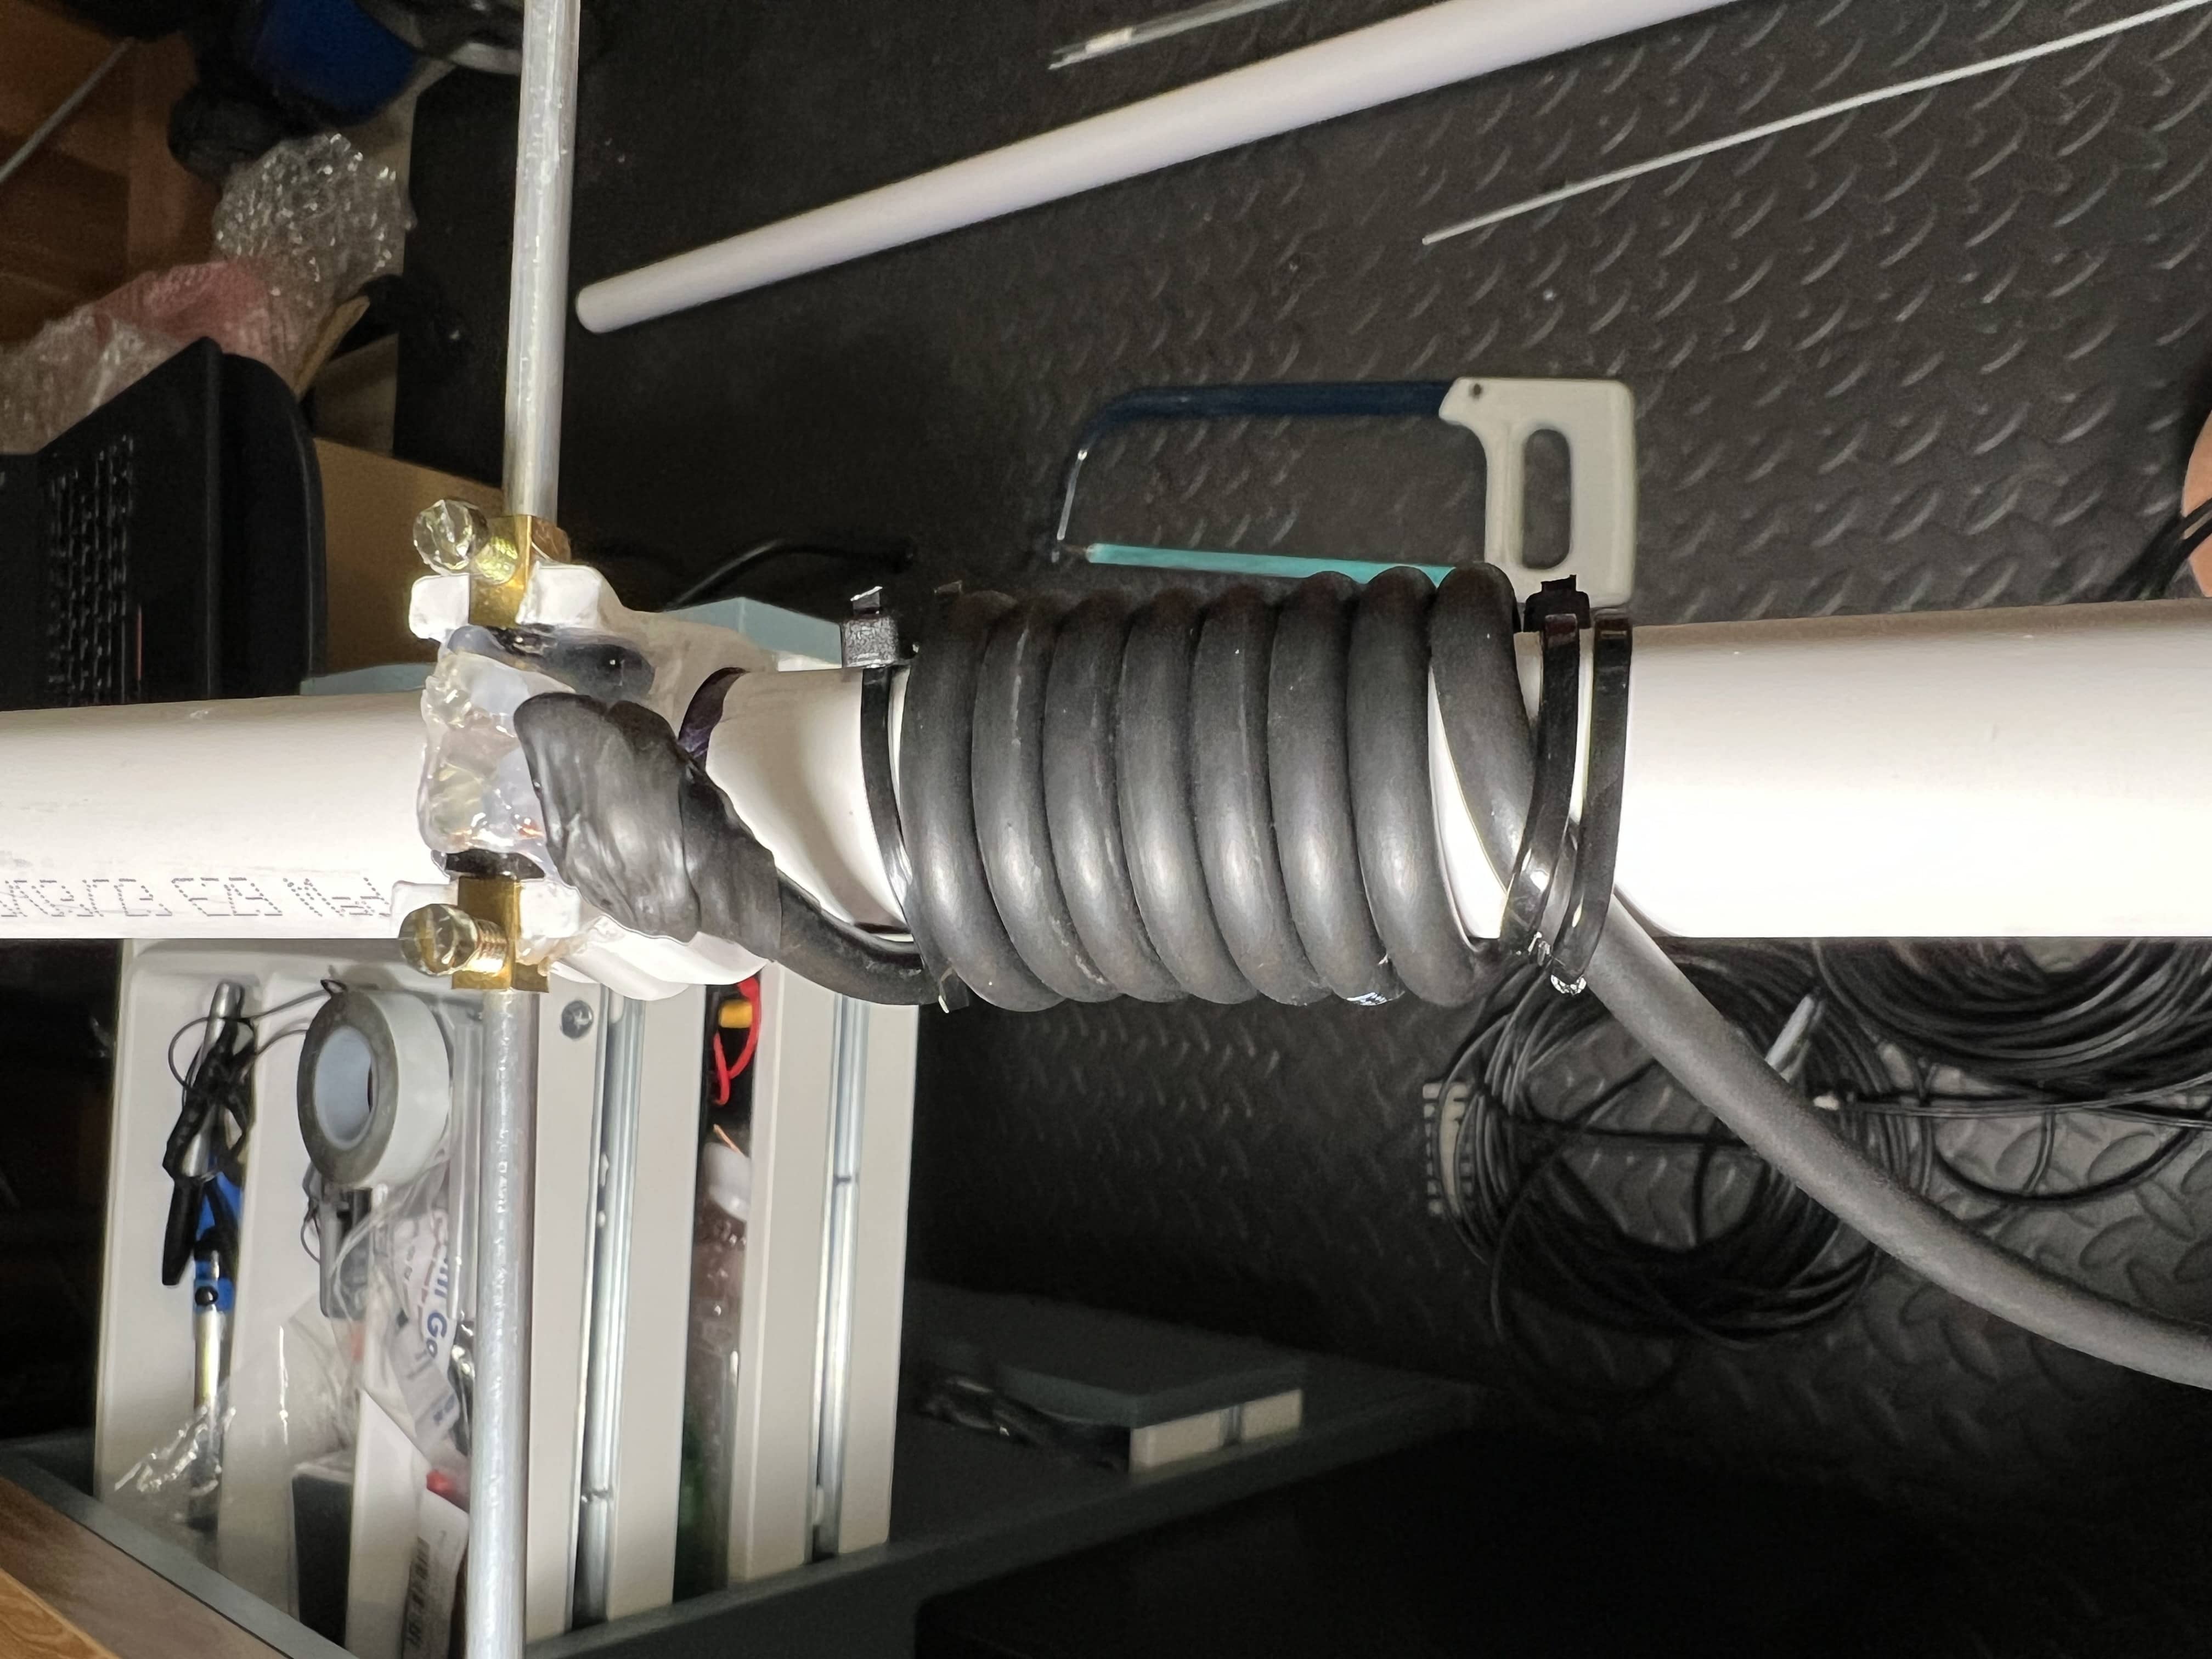
RG58 is a bit heavy but it’s all I had so would do. Whilst this was easy to build, it does mean the only way I can transport it is by unscrewing the elements. Not the best solution but I wanted to get it built vs. debating over other ways or buying more things. A common way others do it is with a box mounted on the boom and there’s a coax connector on it, so you can remove the box with driven element in one. My one has about 3-4m of coax on which is enough from the mast mounting position to having the radio on the ground underneath.
The length of the driven element is from tip to tip, including the gap in between.
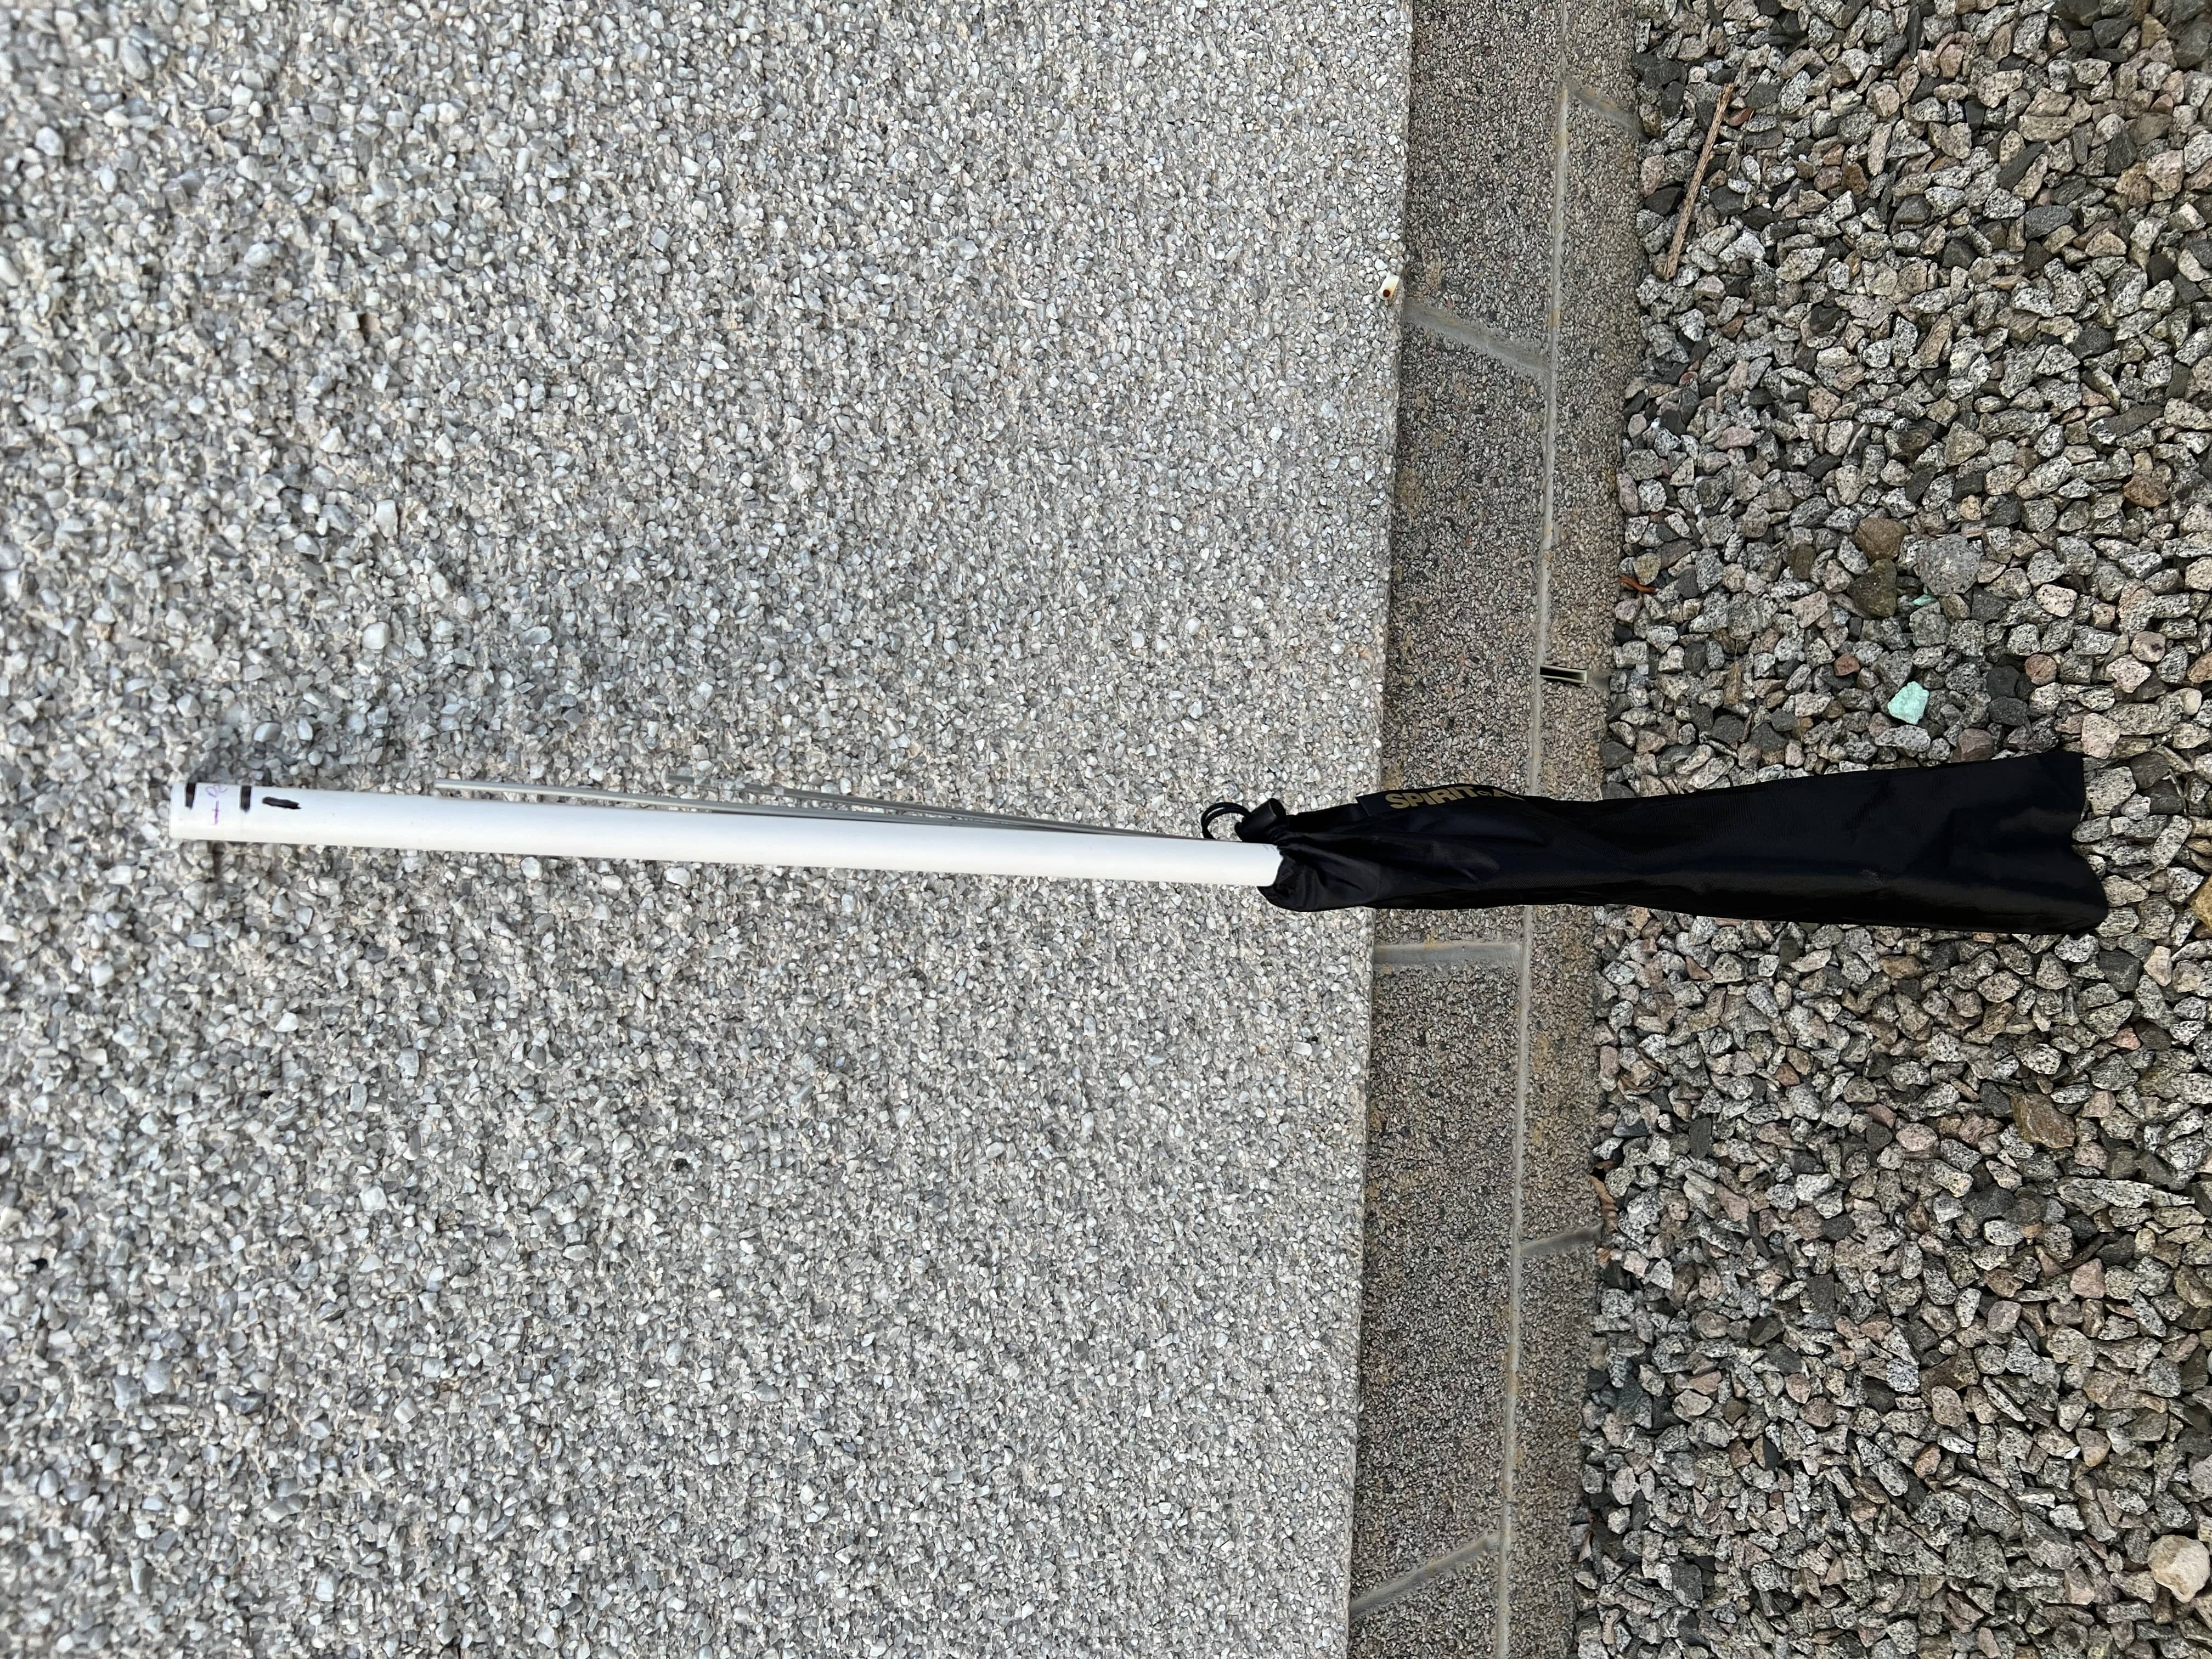
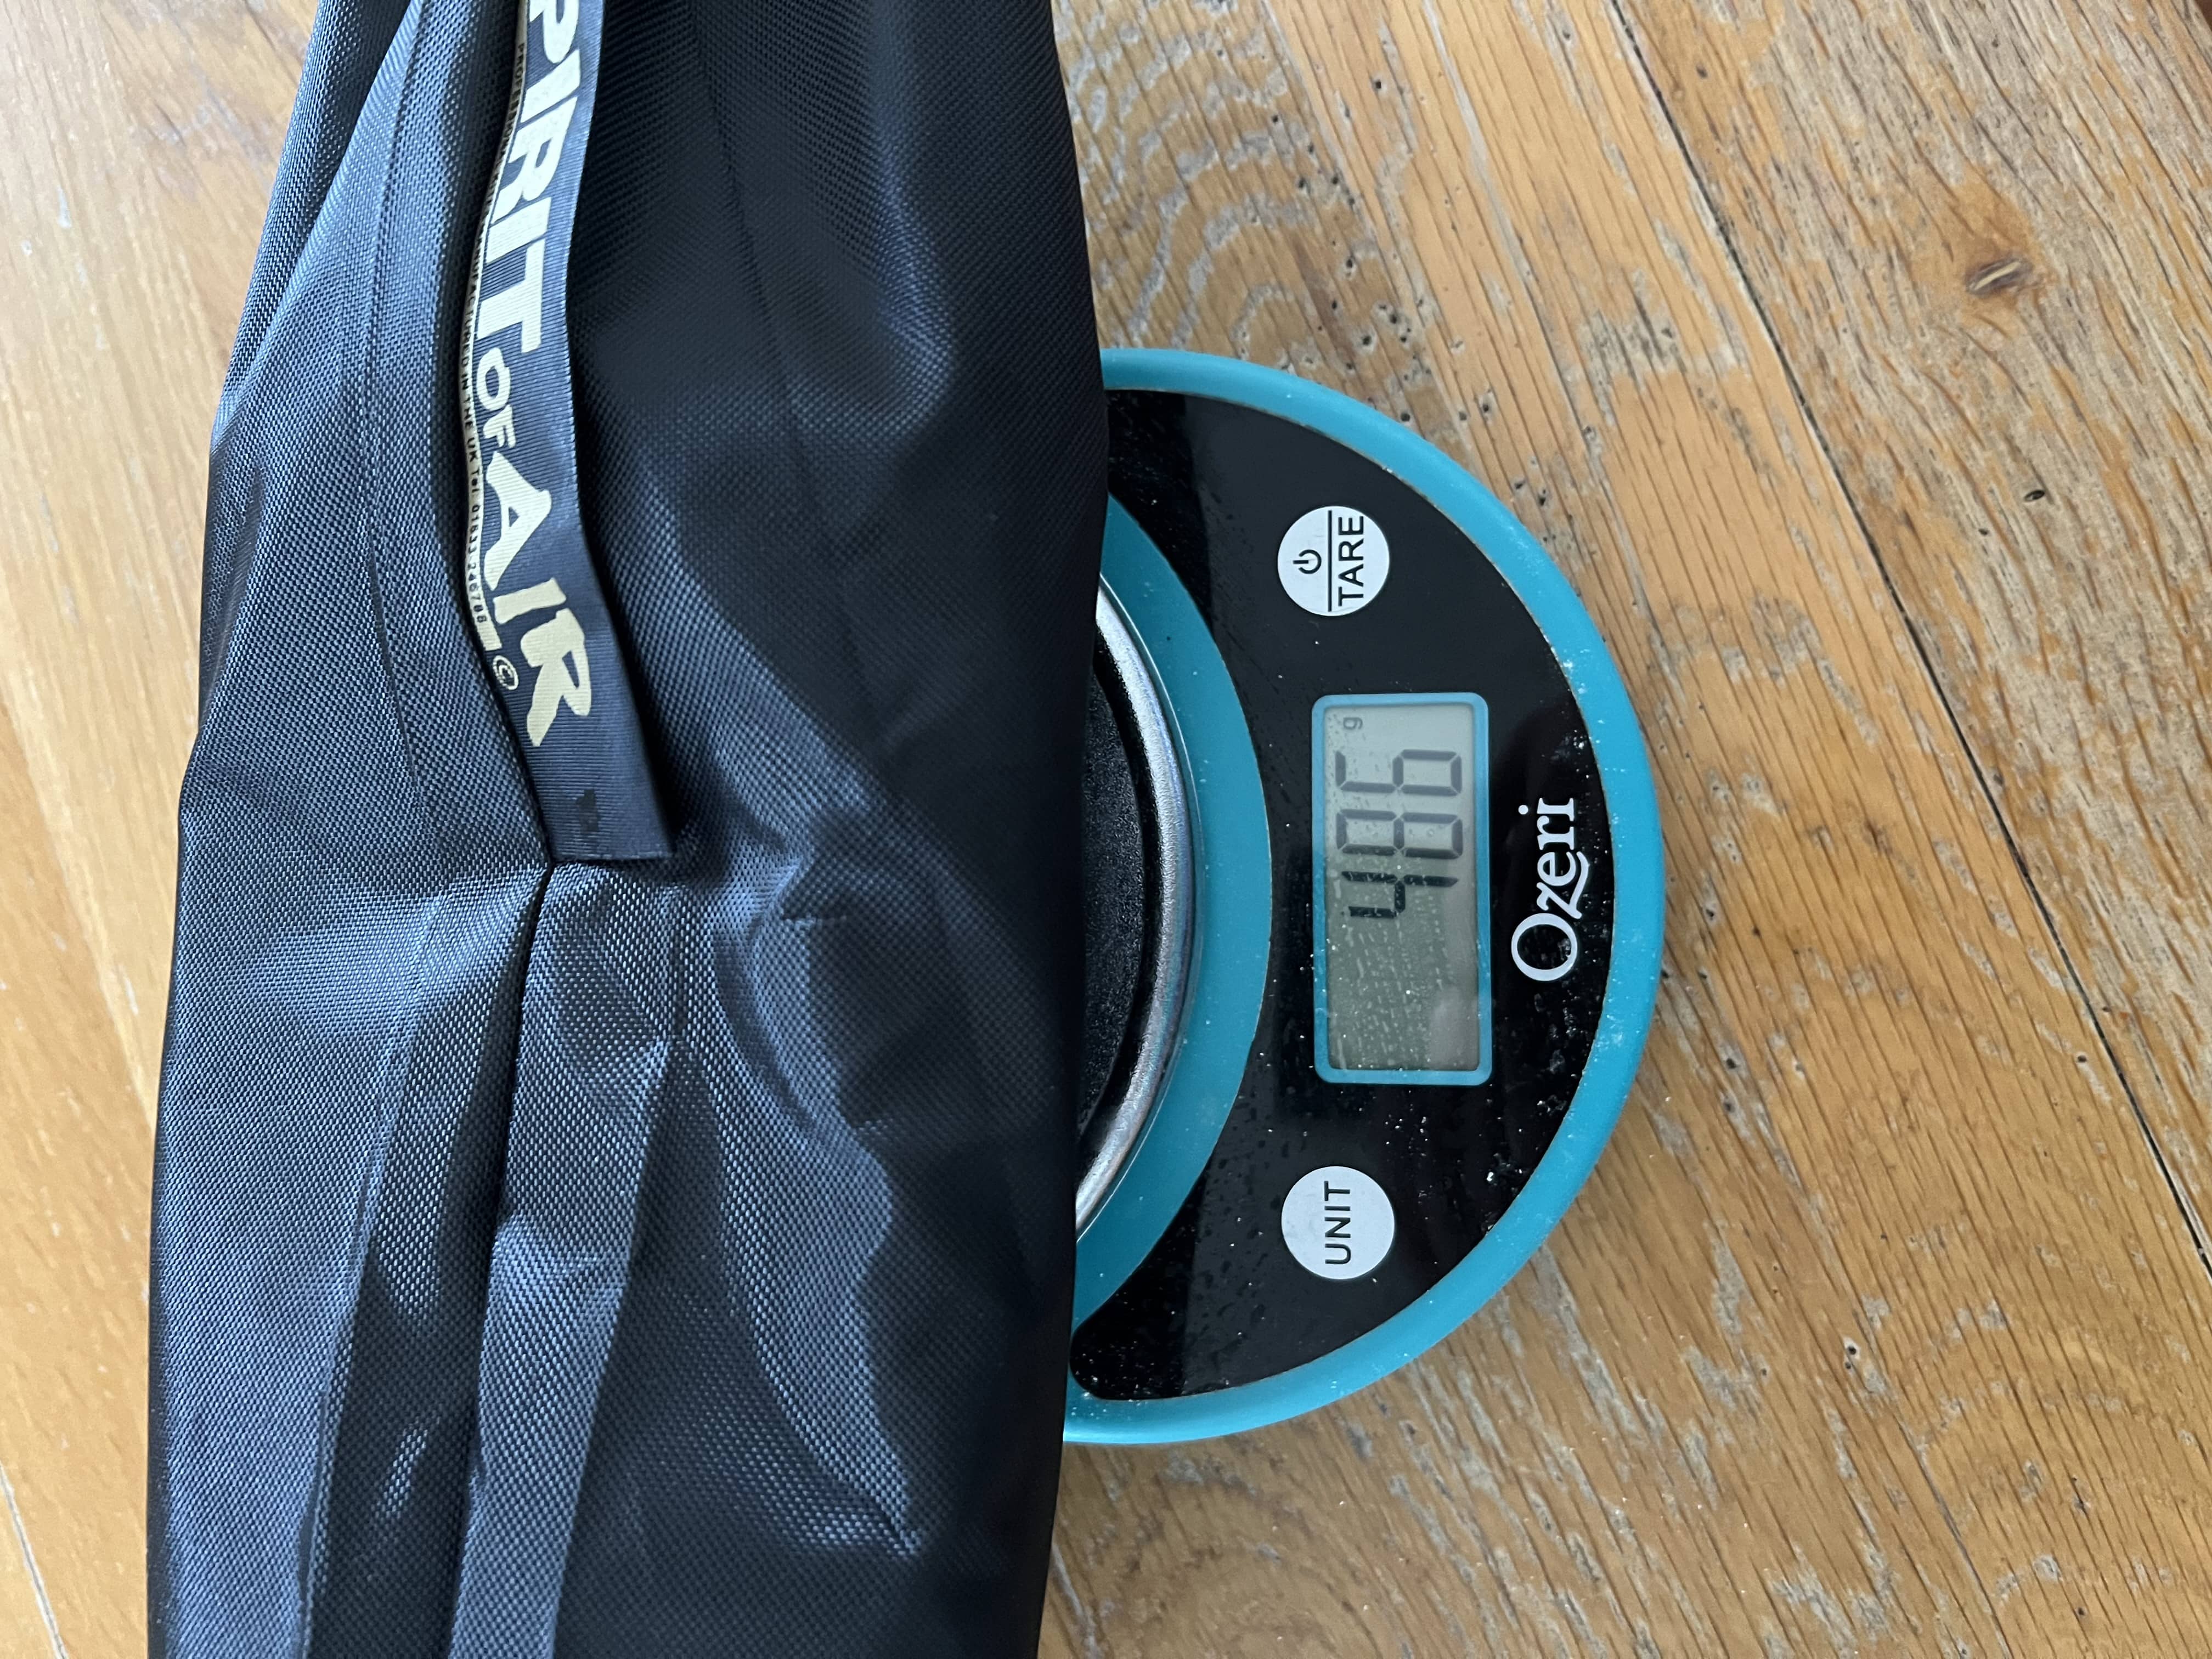
I marked the PVC tube with sharpie for the location of each clamp, together with numbers. I also put a mark in the centre of the rod on the directors so I could centre it if it moved about in the clamp. It’s all about 1m long and I found a thin bag to carry it in. It’s not the greatest but will do. I used bungees to tie it to the side of my backpack.
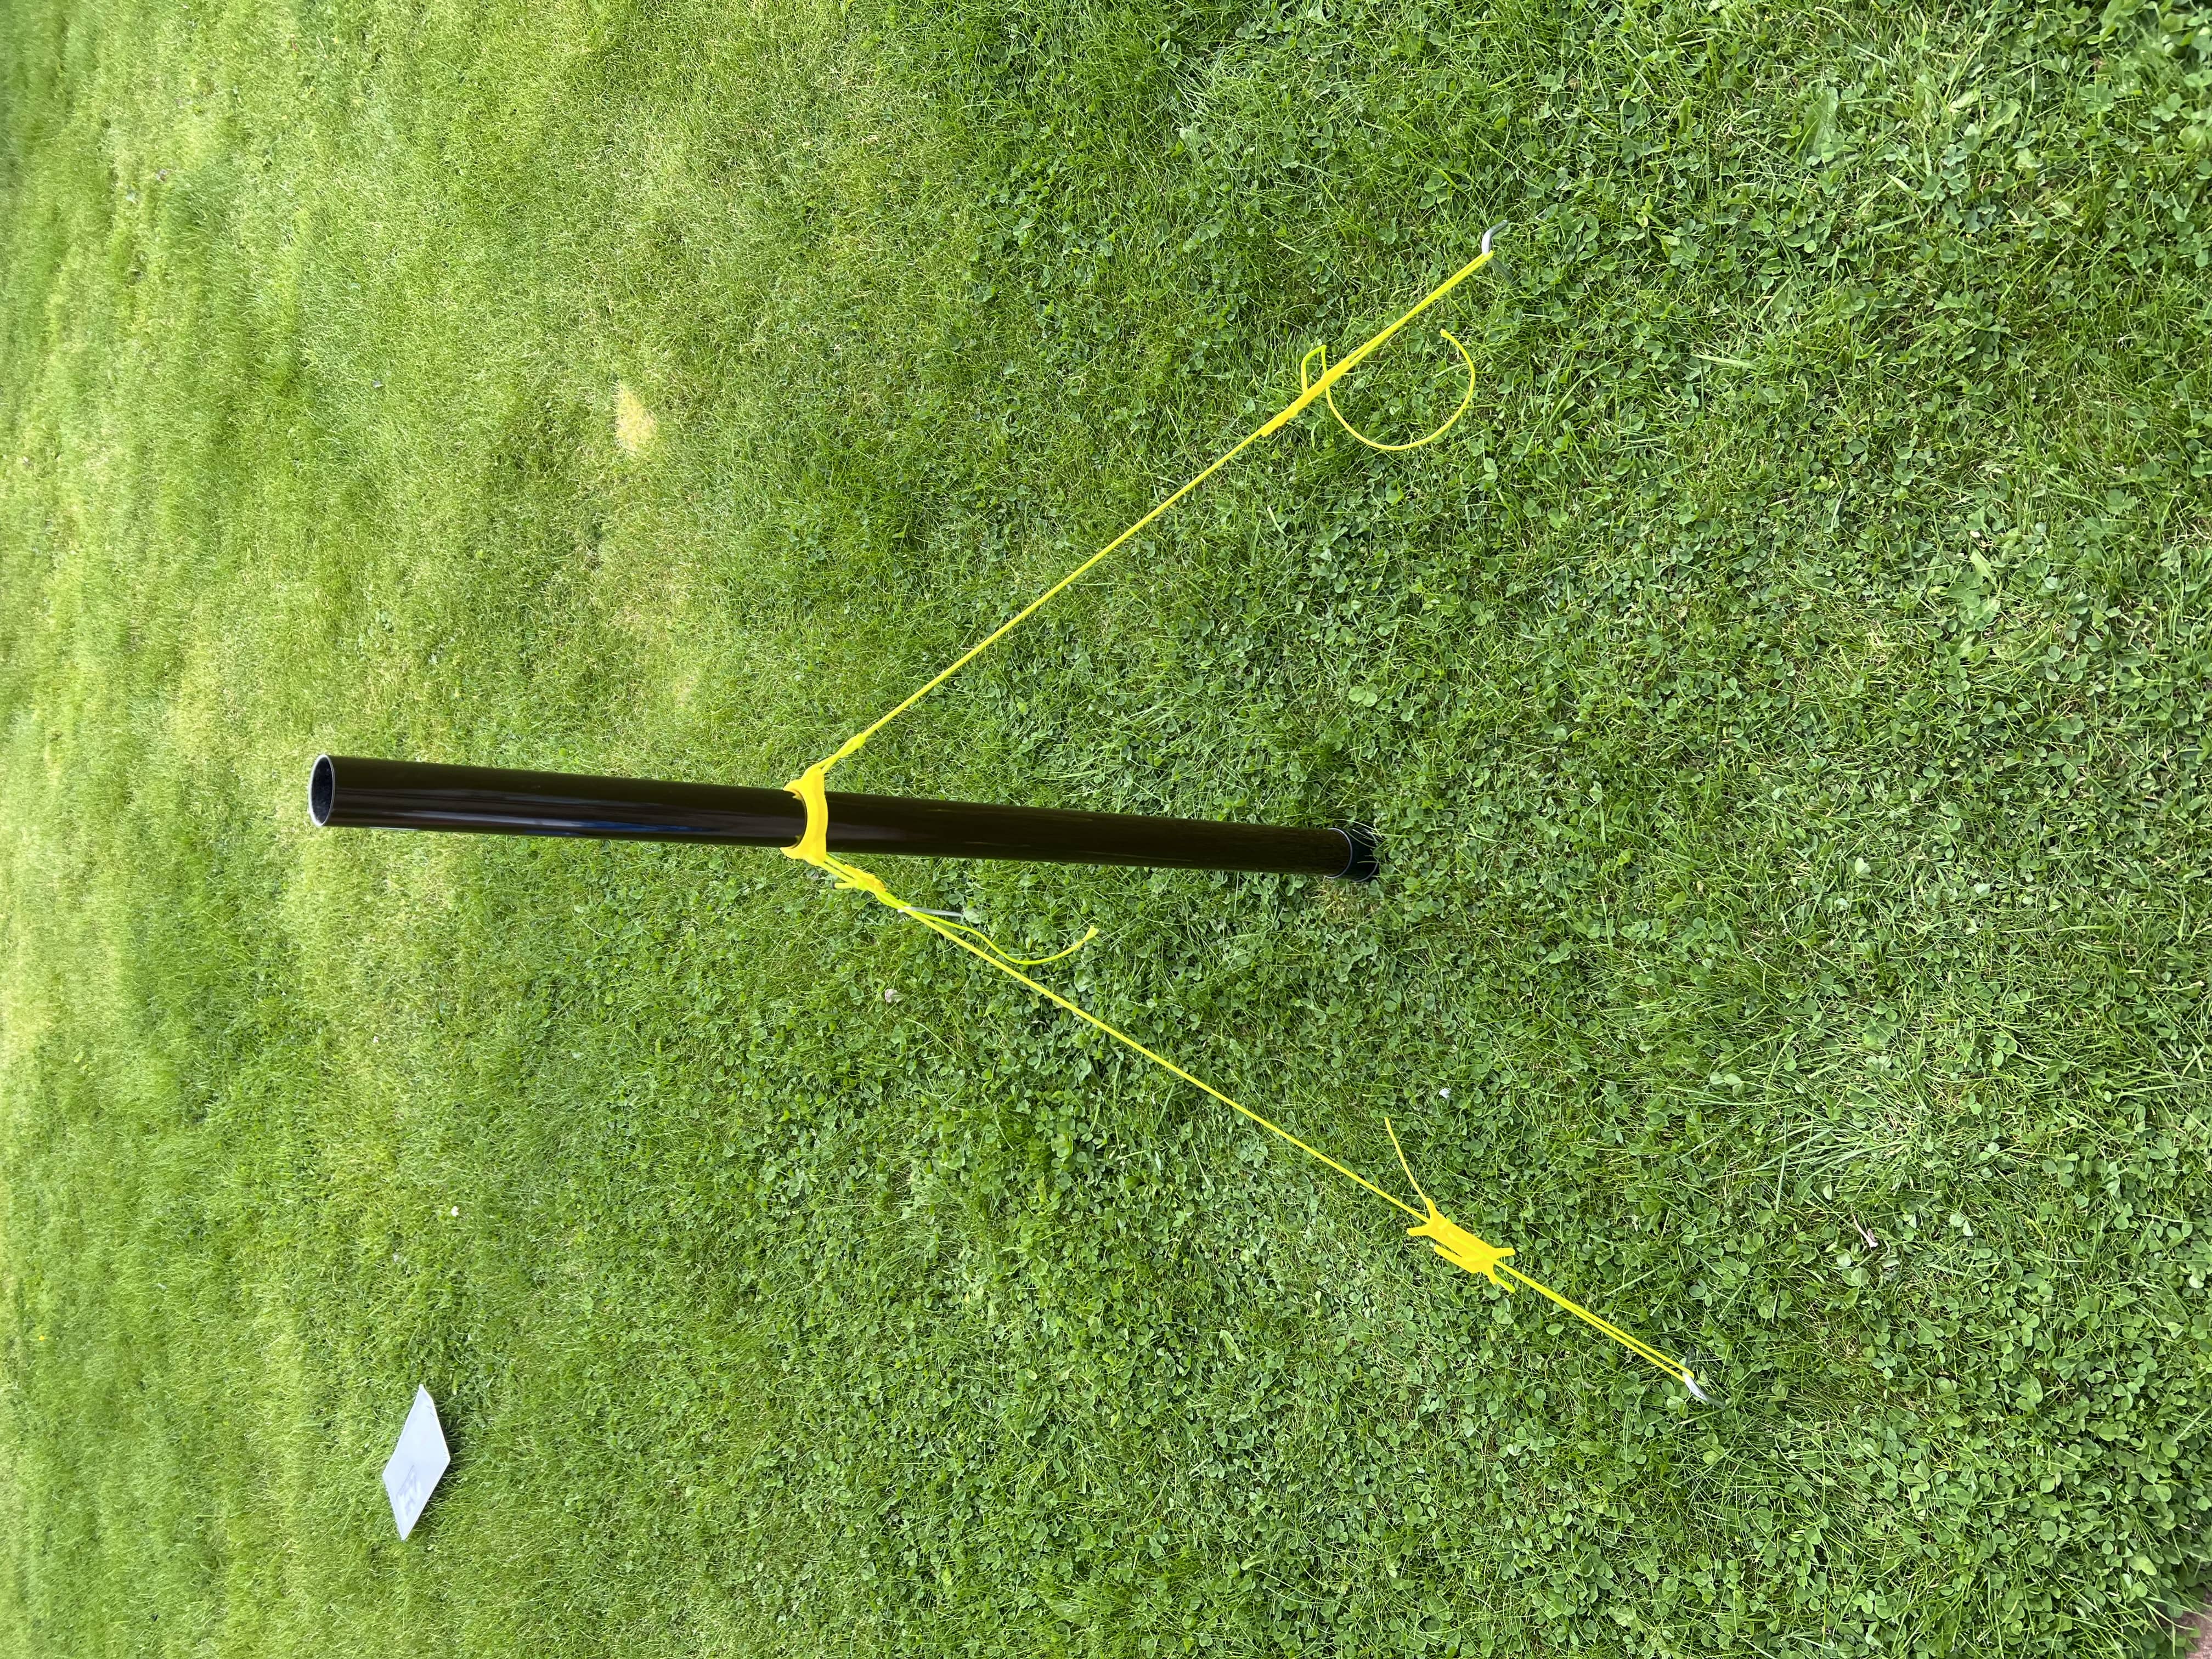
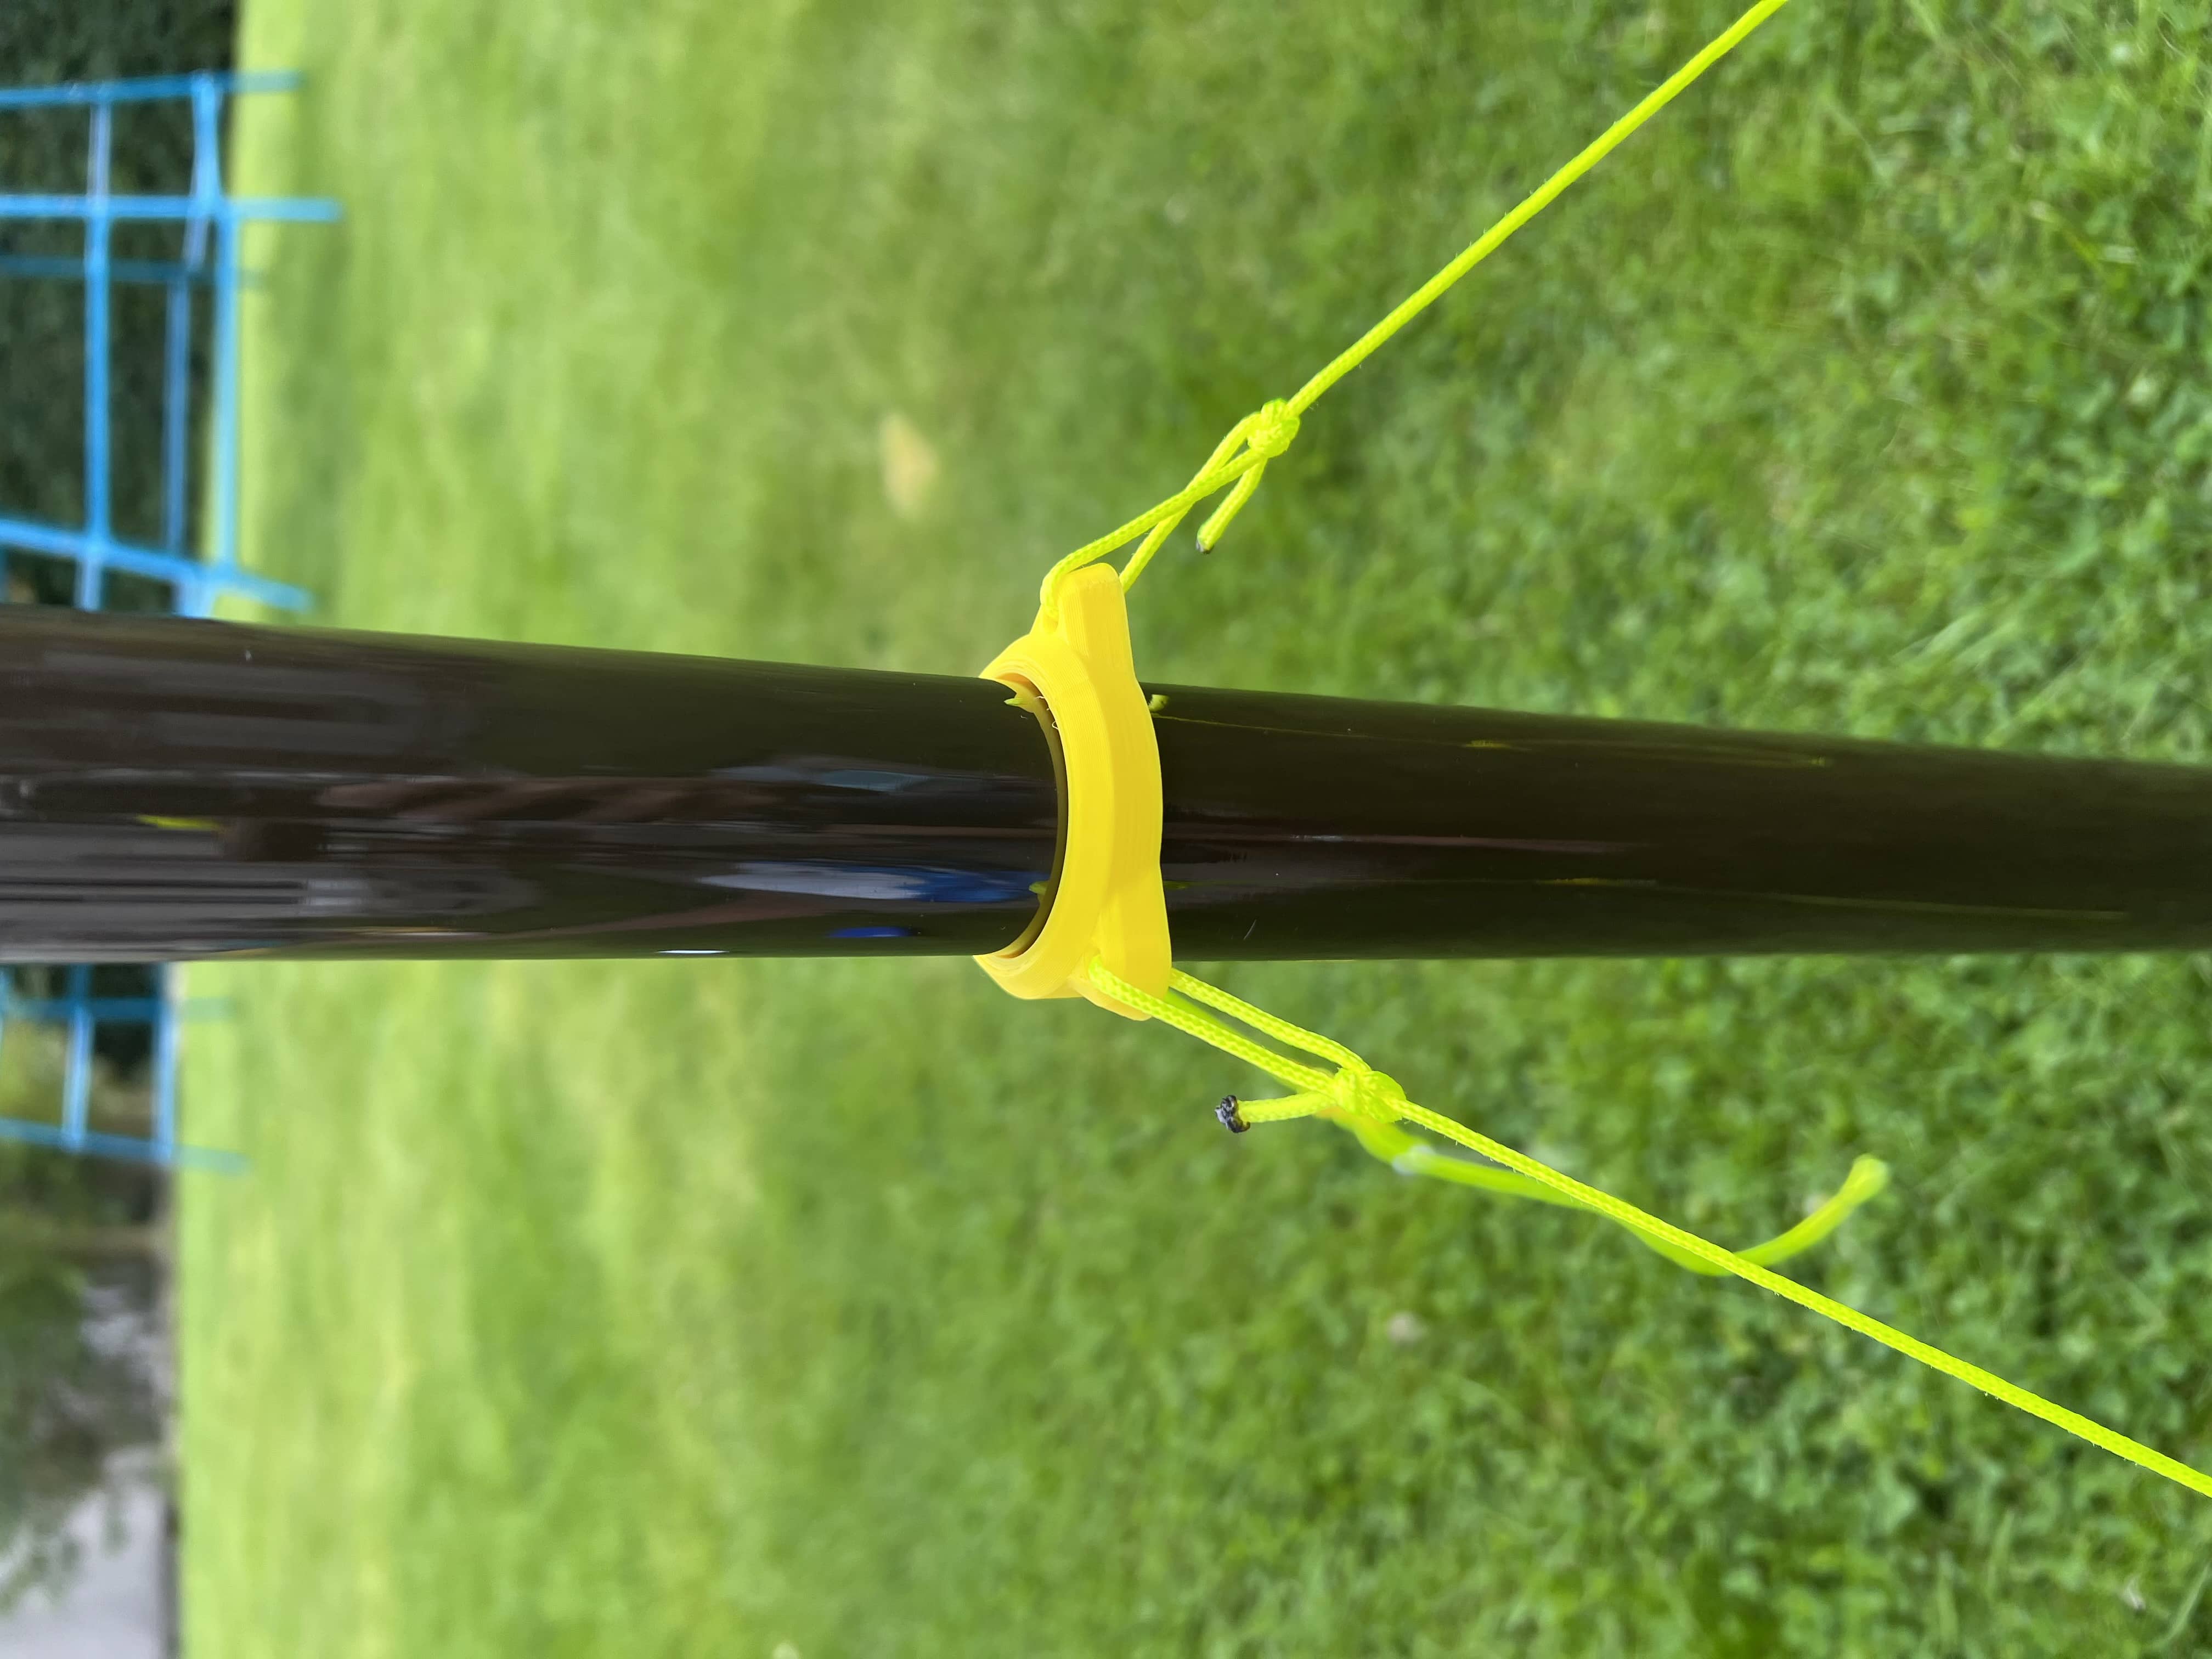
I’m using a SOTABeams tactical mini mast to support it. It’s 6m telescopic fibreglass pole that has more strength than my usual Carbon-6 mast. There are two conduit wall mounts attached to the boom, so the yagi can be mounted vertically or horizontally. It works well enough, although if I want to change polarisation I have to take the mast down and then put it up again. I could take out all the other sections I don’t need but if I’m only taking one mast on an activation I want the 6m in case I need to setup HF.
I 3D printed some guying rings and rope tensioners from this design and cut some cord to length for the mast. The 2nd lowest ring fitted perfectly on the bottom segment of the tactical mini.
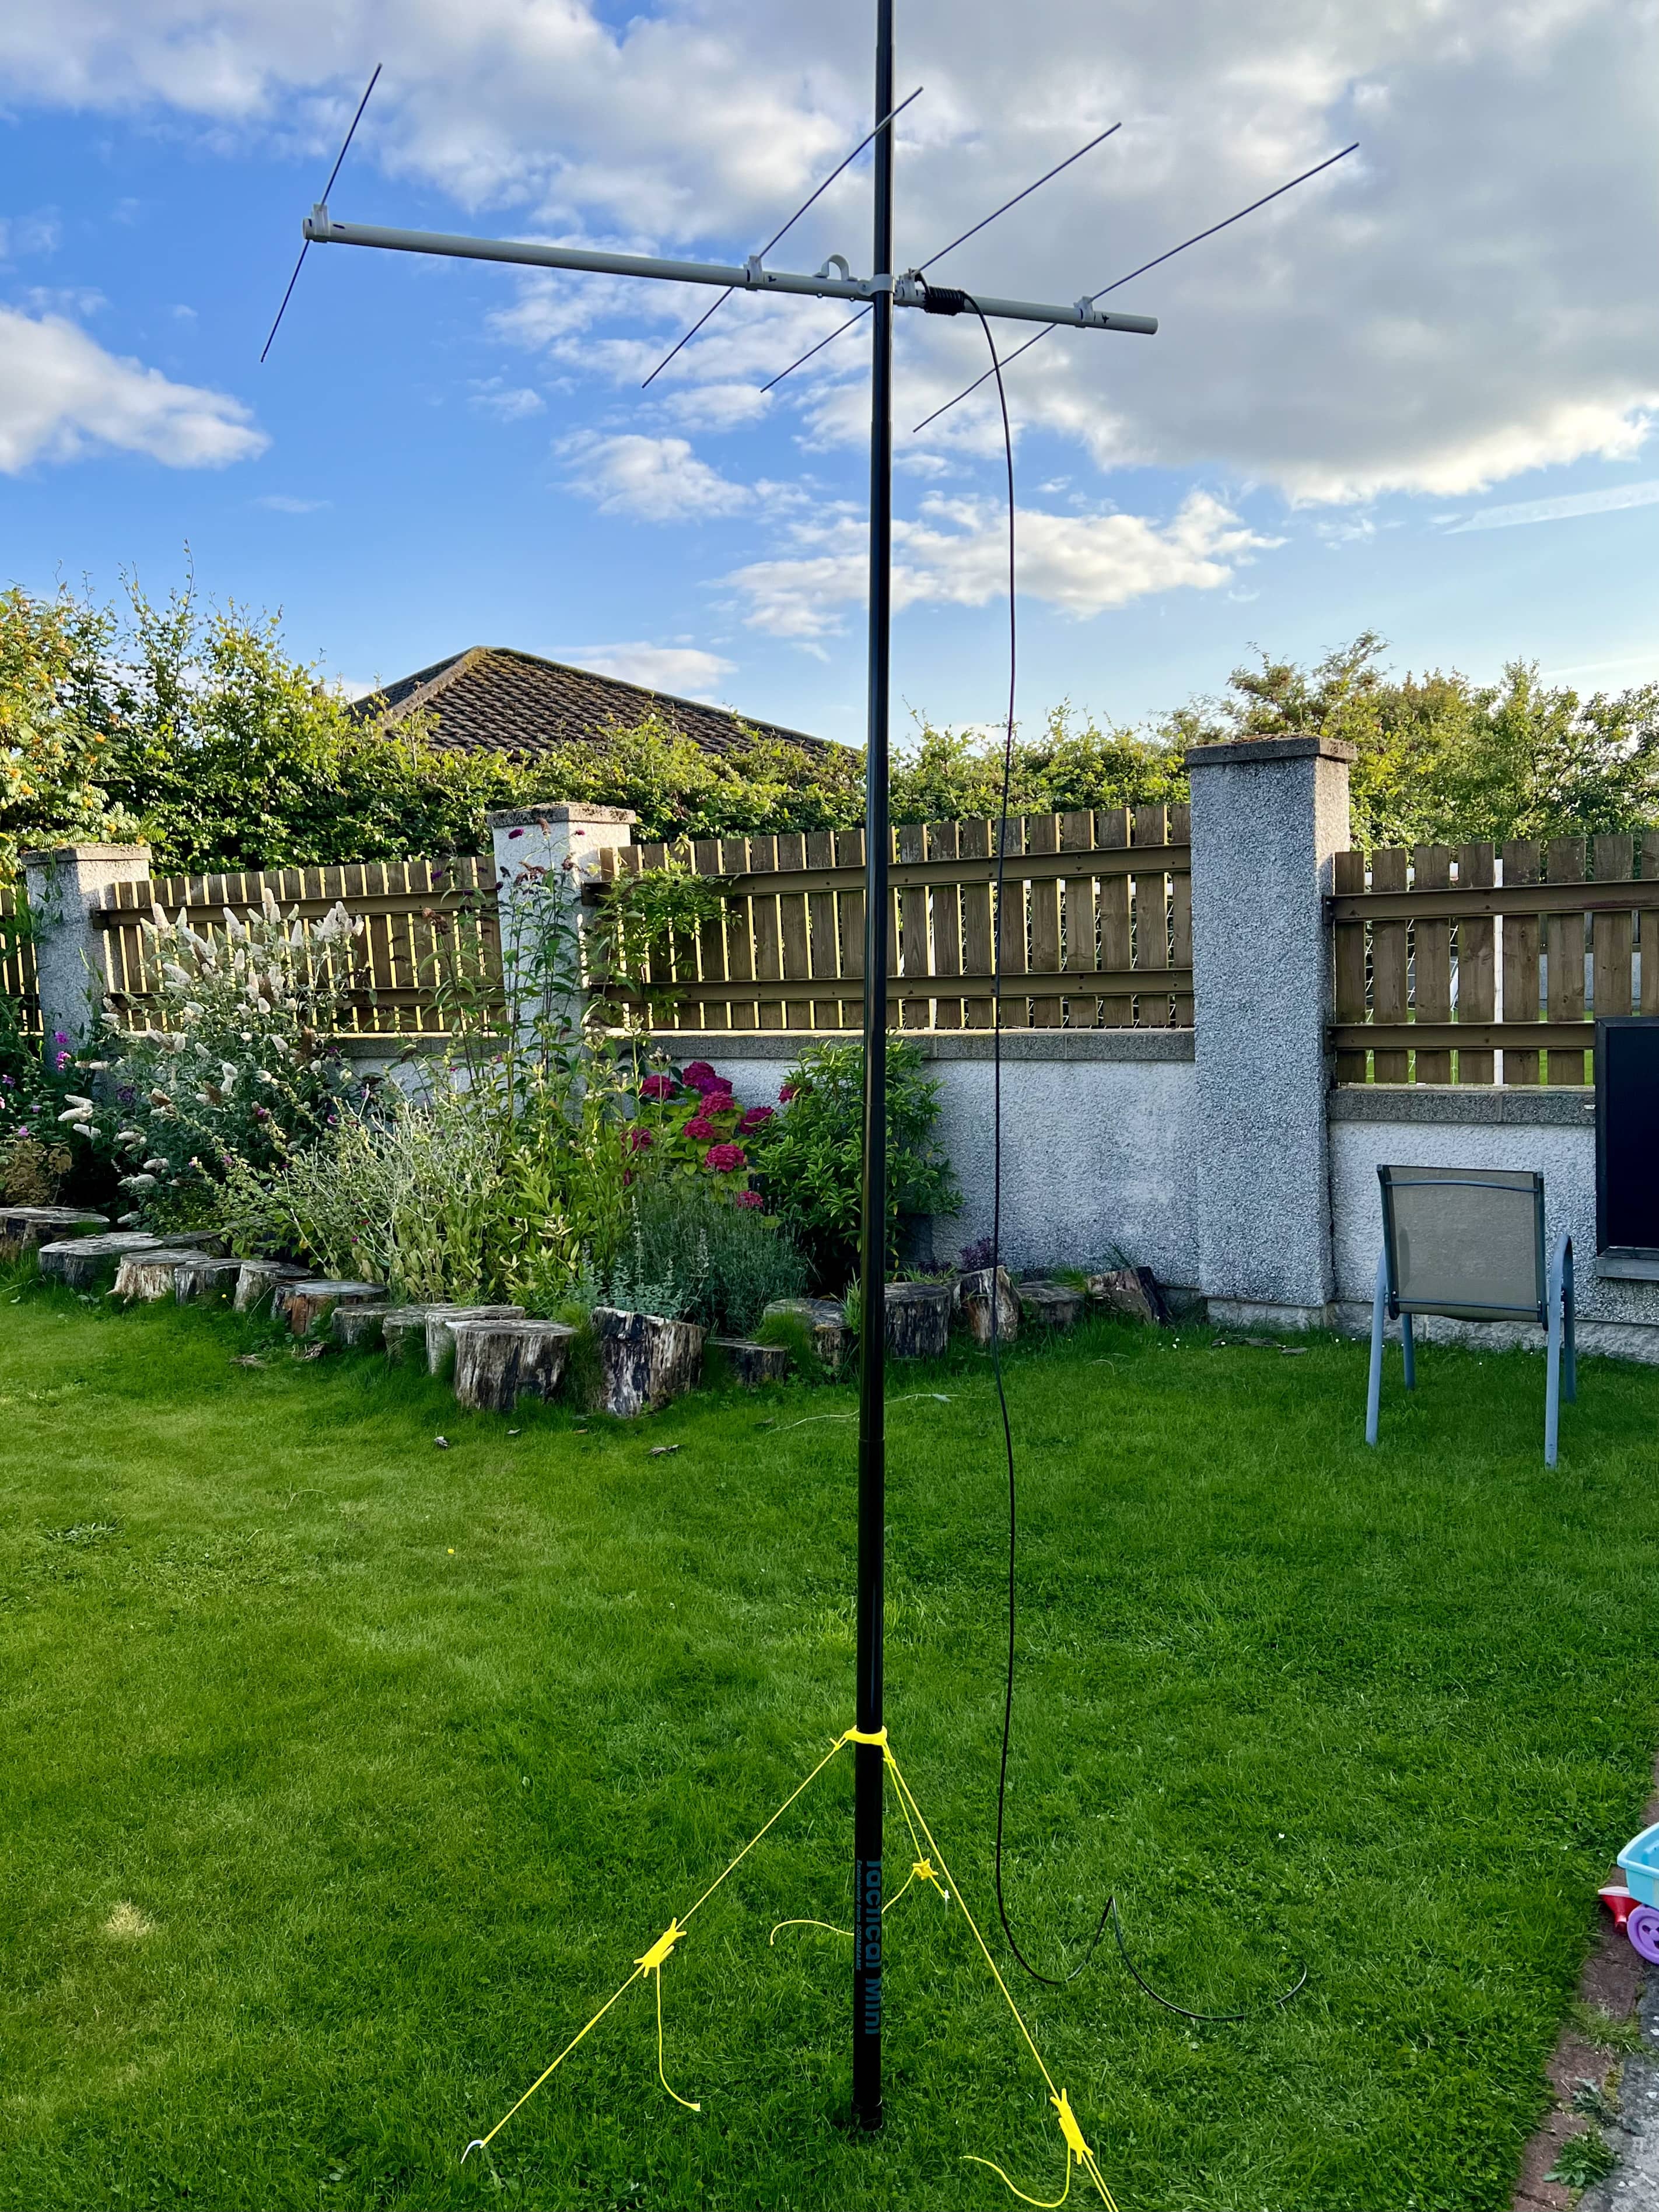
First test was in the garden, listening to the 2m lunchtime net…so it received well enough.
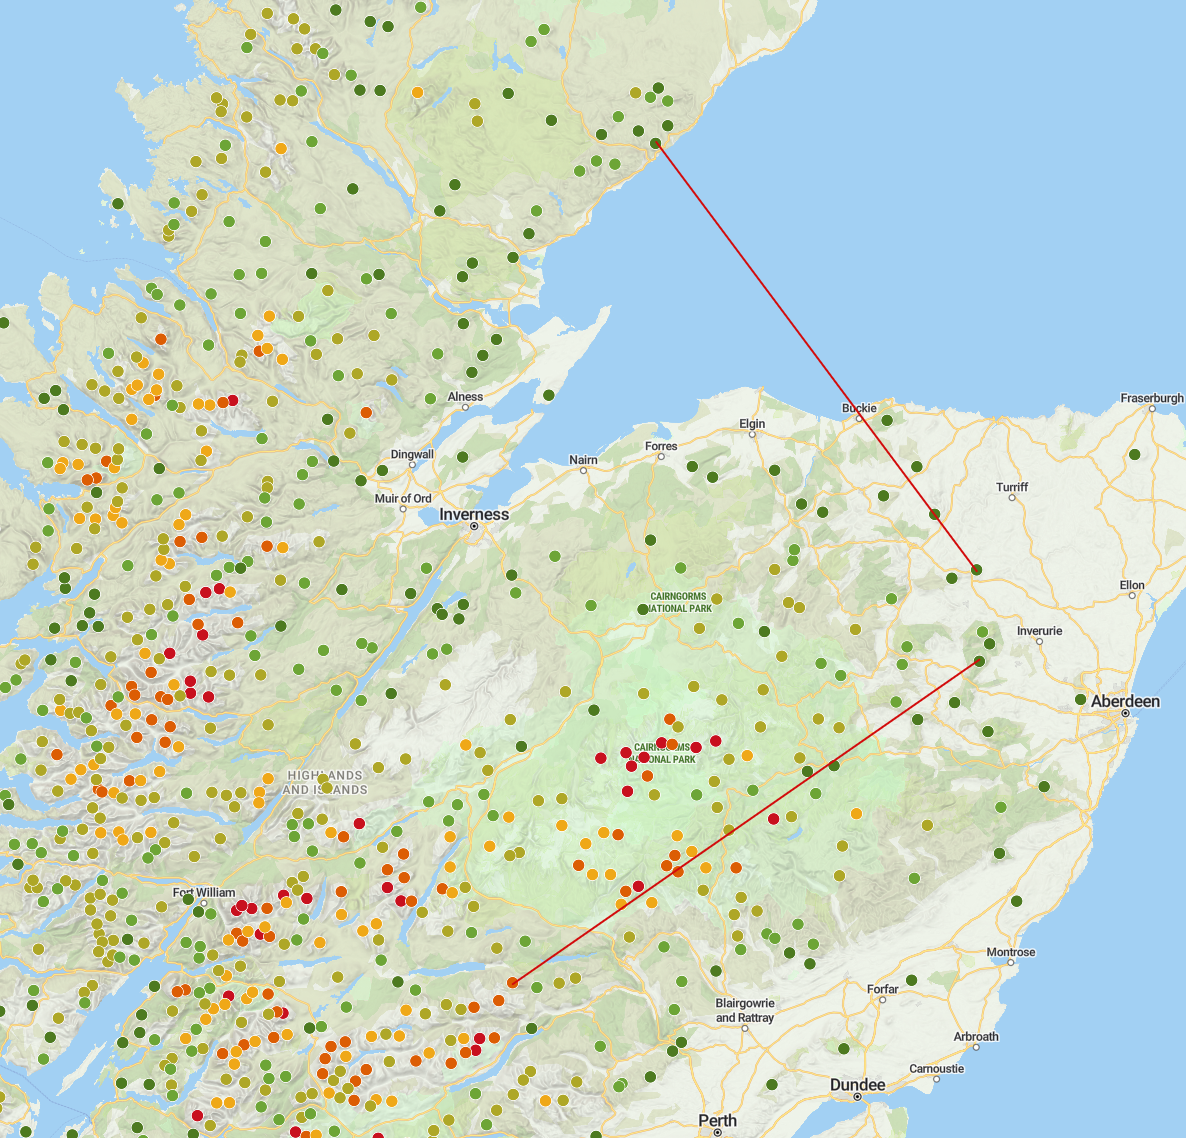
The first outing was to Cairn William, where I’d set it up on the top. We’d arranged SSB activity on another summit, although that guy had to pull out, however, we’d also prepared the locals to listen out. I started with SSB and managed to make four contacts locally with it. I then flipped it to FM and made a few more. Including a nice summit to summit with Schiehallion, around 112 km away! I brought it out later in the day on Tillymorgan, and managed a contact with Helmsdale, around 100 km to the north…whilst the yagi was pointing south! Turning it around turned me from a 53 and a 59 by the chaser
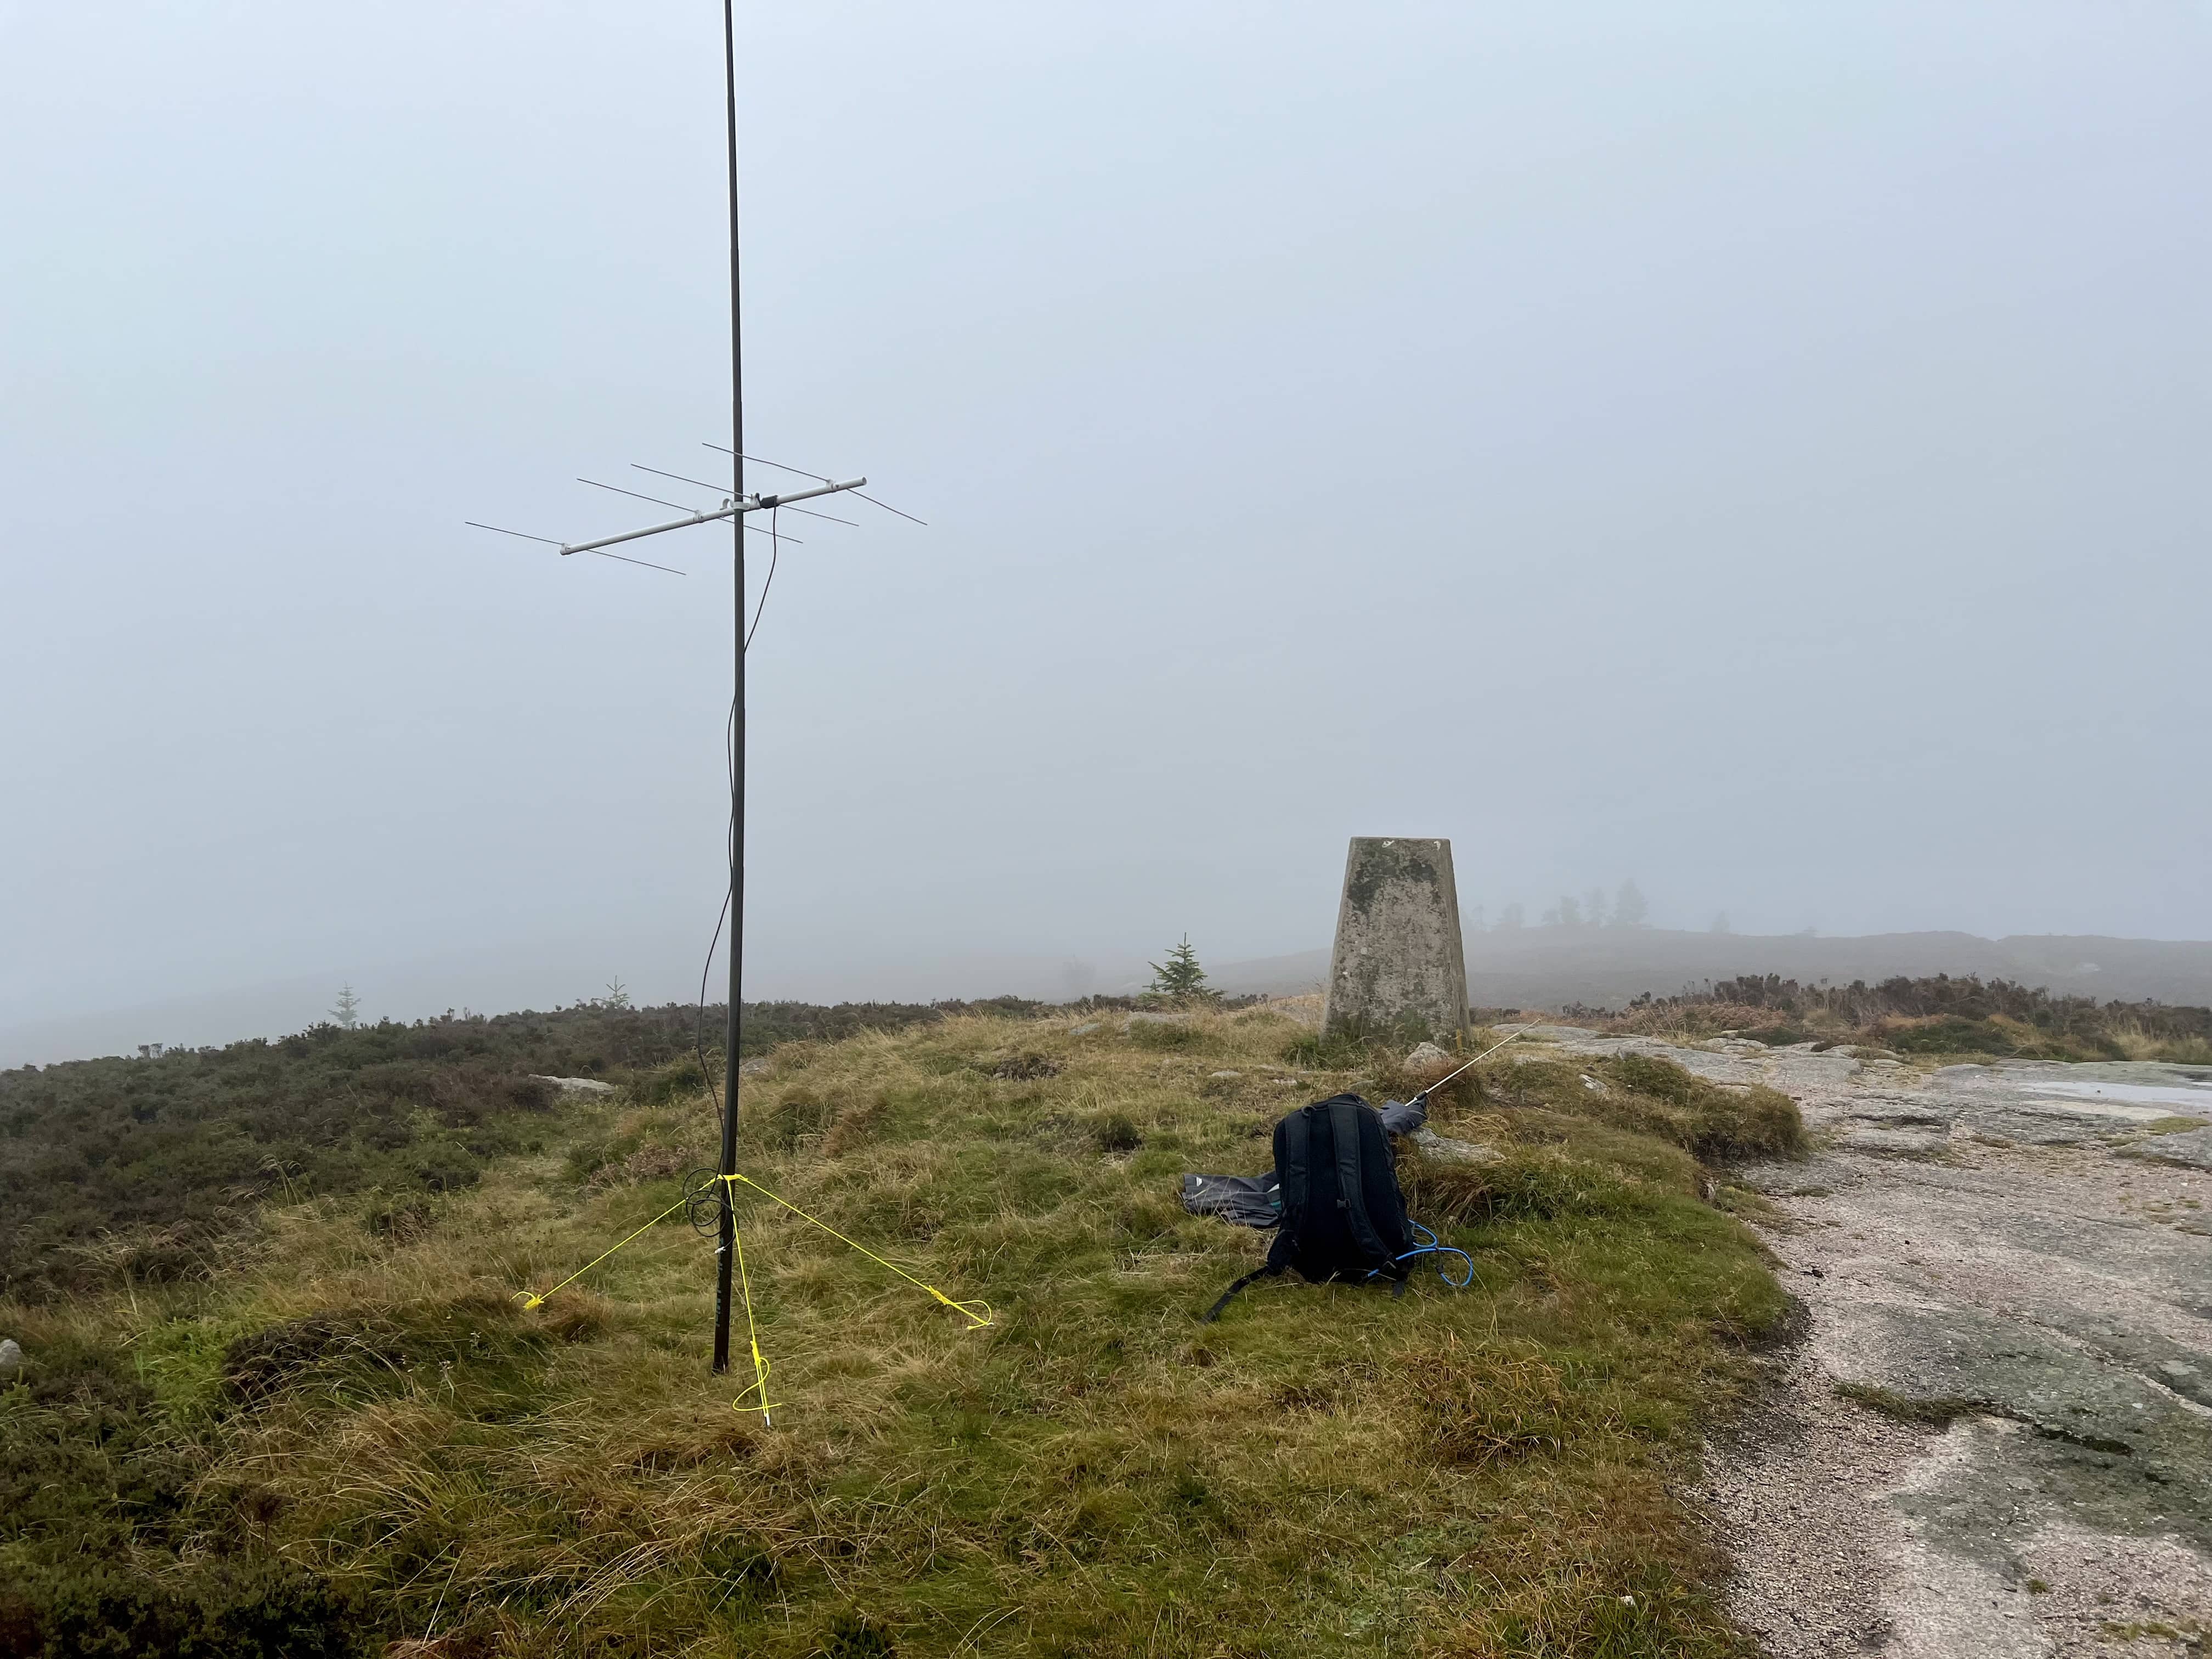
I’m pleased with the results and think it worked rather well! It wasn’t too tricky to setup and use in the field, nor heavy to carry. It takes a bit of getting used to the length of it, especially when walking through forests as I kept catching it on trees and causing them to dump all their water onto my back!
I think a different way to connect the coax and the driven element would improve it, and maybe a dedicated mast that was just the right length would be better.
I did find this design for a 100g yagi that looks nice, and have saved a few links to 2m moxon’s. Not sure when or if I’ll make these, as I do like the convenience of the slim G. I also printed a clip for it, so it doesn’t flap around in the breeze.