QO-100 Build: Part 2 – The Hardware
Buying the shopping list
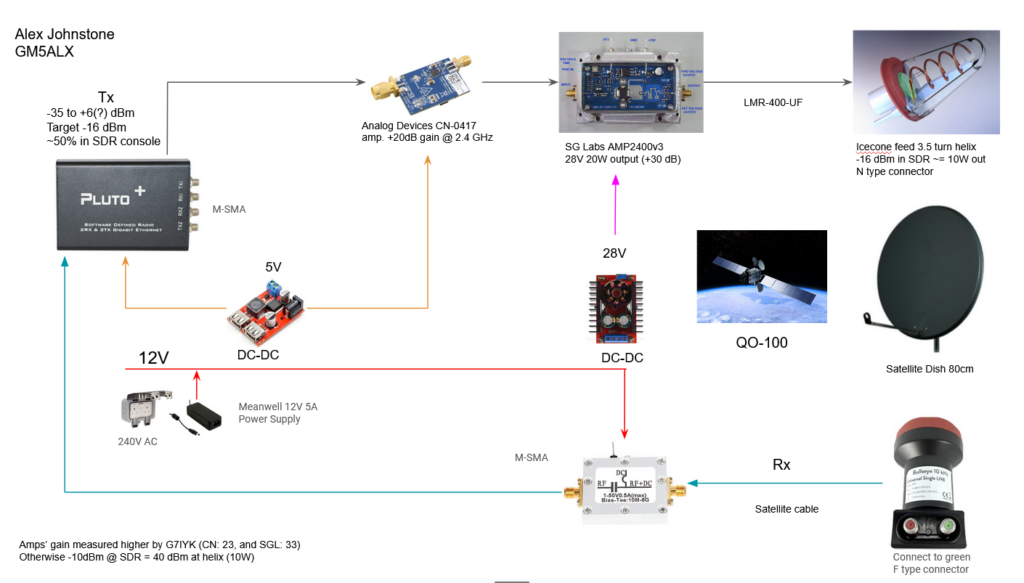
I spent a while debating if I really wanted to build this. I knew the build would be fun, but would it be fun using it? I also knew it wasn’t cheap, and would I regret it once I was done? After a few weeks of thinking this whilst researching the build, I ended up ordering the helix ice cone antenna late one June night. There was no going back now.
Over the course of a couple a weeks I ordered all the parts, buying a few each day made it feel like I wasn’t spending too much!
| Part | Store | Price inc. shipping |
|---|---|---|
| Pluto+ SDR | Aliexpress | £201 |
| CN-0417 pre-amp | Digikey | £43 |
| SG Labs 20W PA | SG Labs | €147 |
| 2.4 GHz helix antenna | nolle engineering | €126 |
| 80cm dish, mount, RX cable | Satellite Super Store | £108 |
| Bullseye LNB | Amazon | £31 |
| Biased tee | Amazon | £24 |
| 12V/5V DC-DC converter | eBay | £4.90 |
| 12V/28V DC-DC converter | eBay | £7.45 |
| Power Supply (Meanwell 12V 5A 60W Power Supply (GST60A12)) and 10m cable | PiHut | £31 |
| TX Coax (LMR-400-UF) and fittings | Barenco | £65 |
| Waterproof box | Screwfix | £40 |
There were also a bunch of bits and pieces I ended up buying as I didn’t have them. Like drill bits for making holes, screws, zip ties, small files, wire, etc. which I needed for this project but will be useful for other things. So accounting for some sundries, the total cost is about £800.
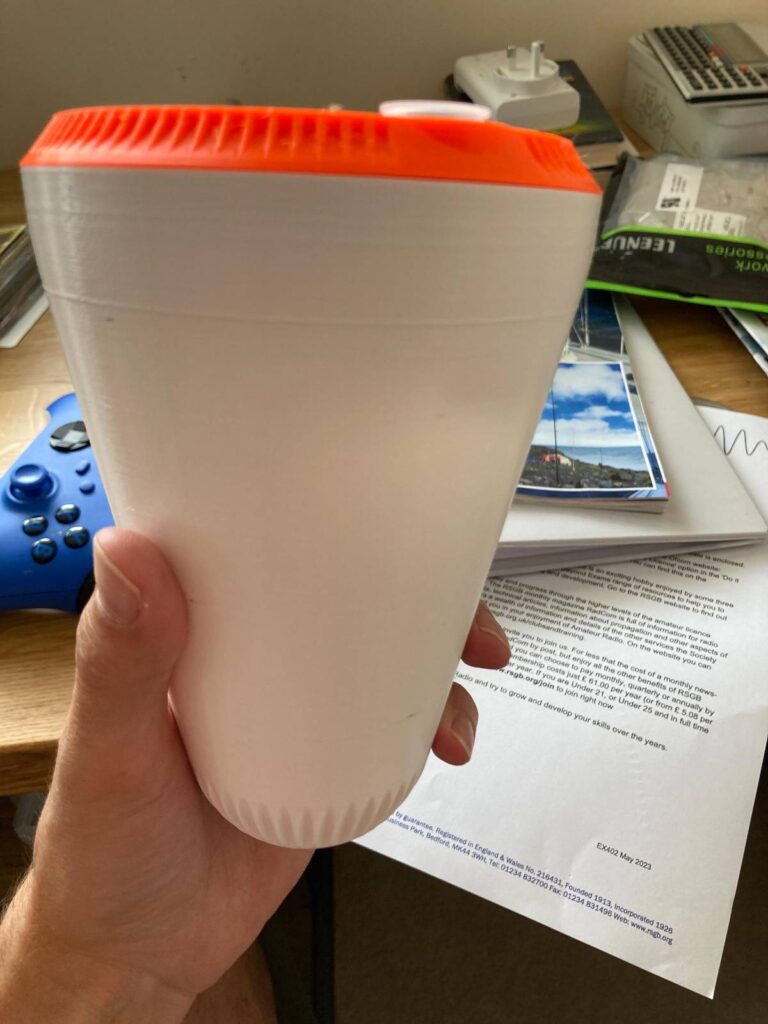
To cut some costs, you could definitely get a cheaper dish and mount, there are plenty on eBay for less or you might be lucky and find something lying around. You might want to try an old sky dish too. The helix antenna is maybe another area to cut costs, either by building it yourself (if you have a 3D printer) or maybe getting a POTY. I didn’t look into the POTY, don’t have a 3D printer and mostly wanted something that I knew would just work. I could’ve tried cheaper cable for 2.4 GHz as well.
If you already have a VHF/UHF radio, then an upconverter, like the one from DX Patrol, will save you some money vs. going with the Pluto+SDR, although you will probably need to get an SDR receiver as well. The DX Patrol power amplifier is more expensive, but gives you pins for SWR etc. wheres the SG Labs doesn’t.
SG Labs ordering process is a reassuring one 😅. You email them, they let you know the price, you send them money on paypal and then you wait a few weeks for the shipping confirmation. Lead time was about 3 weeks for me.
Assembly
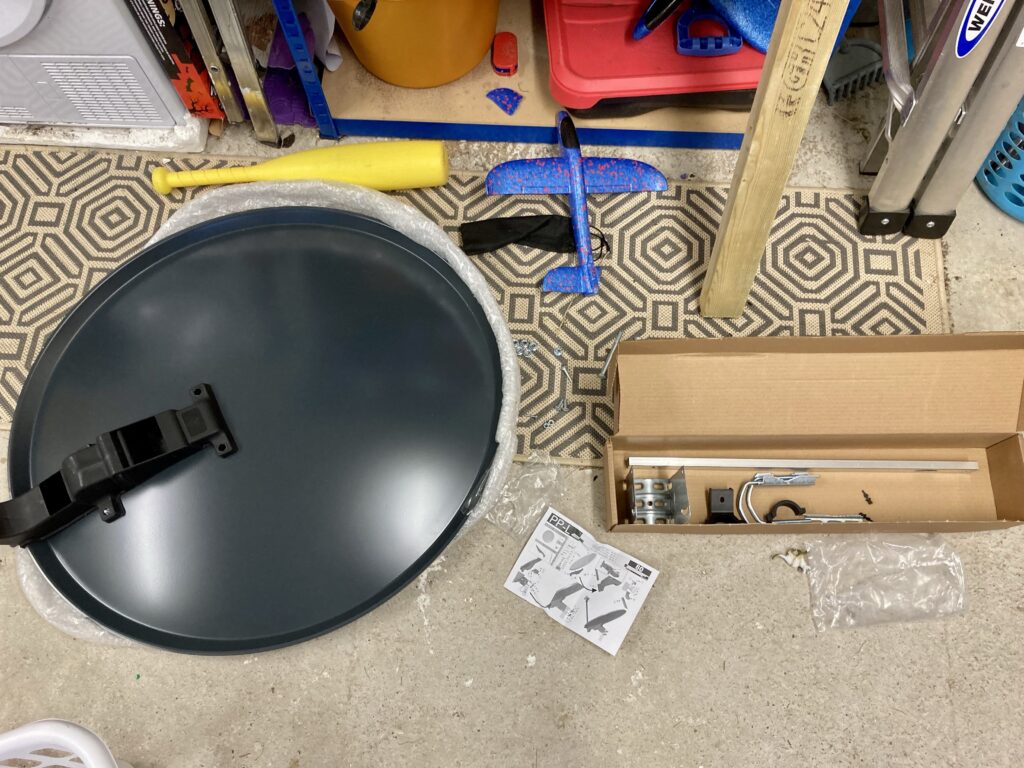
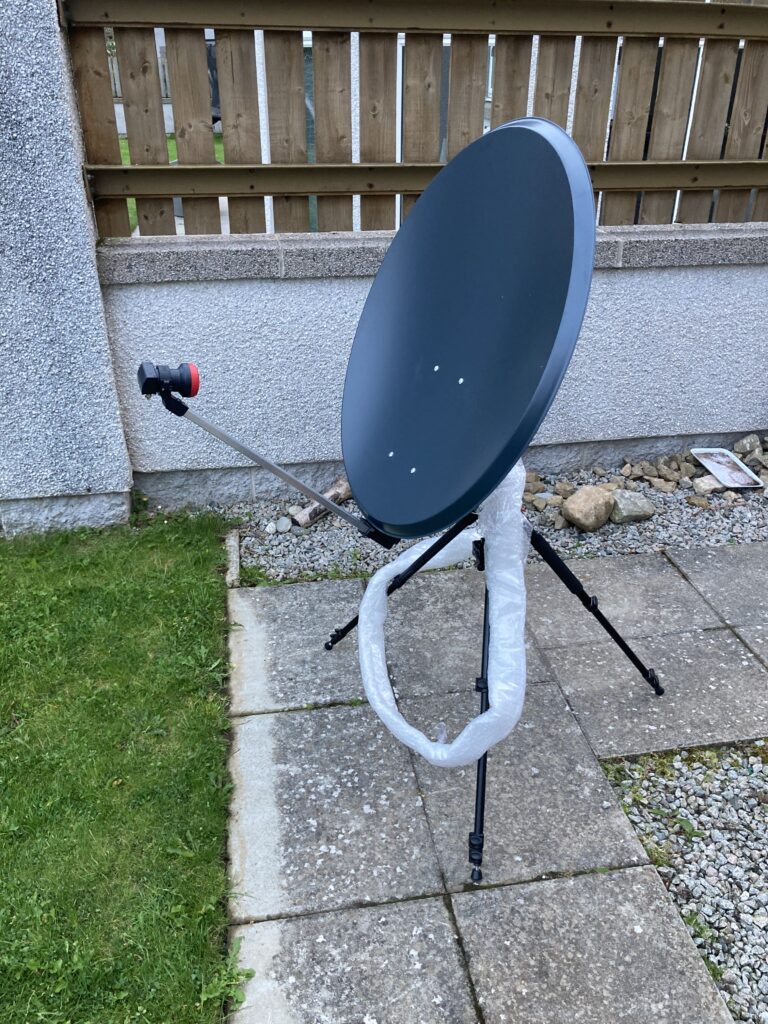
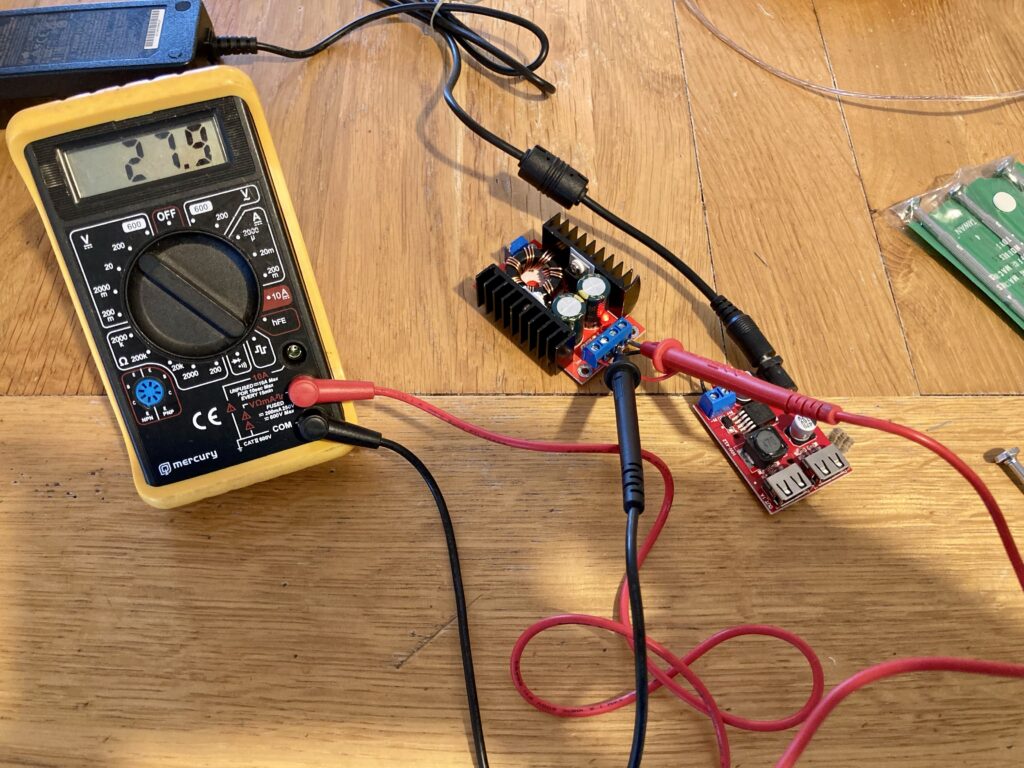
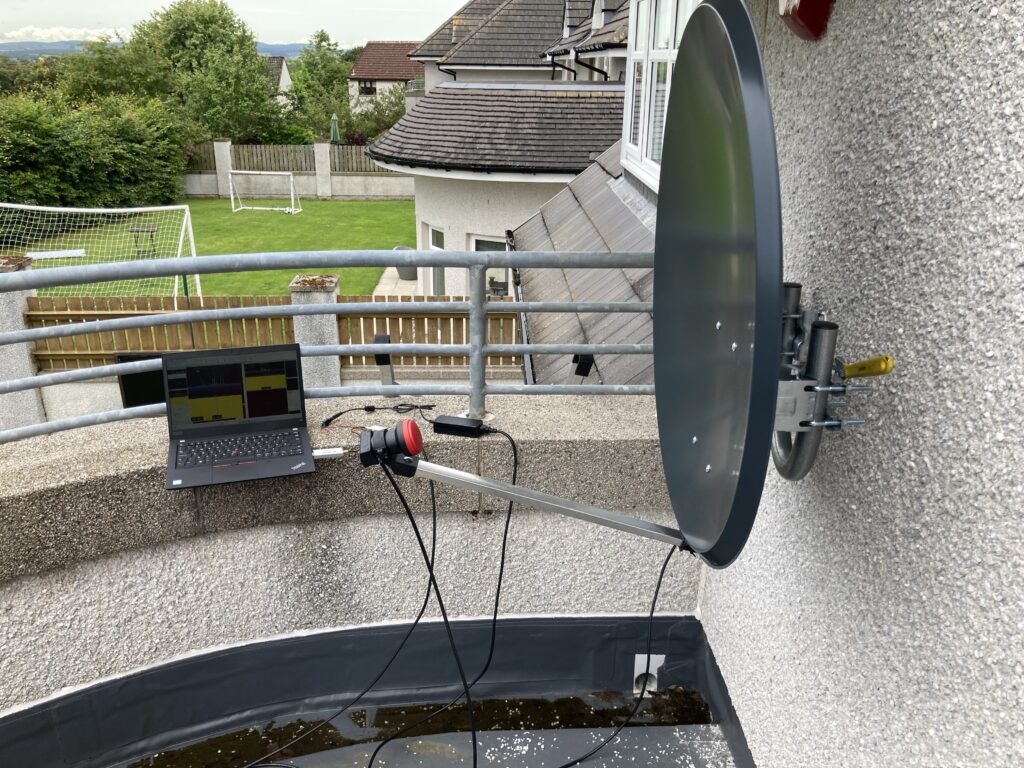
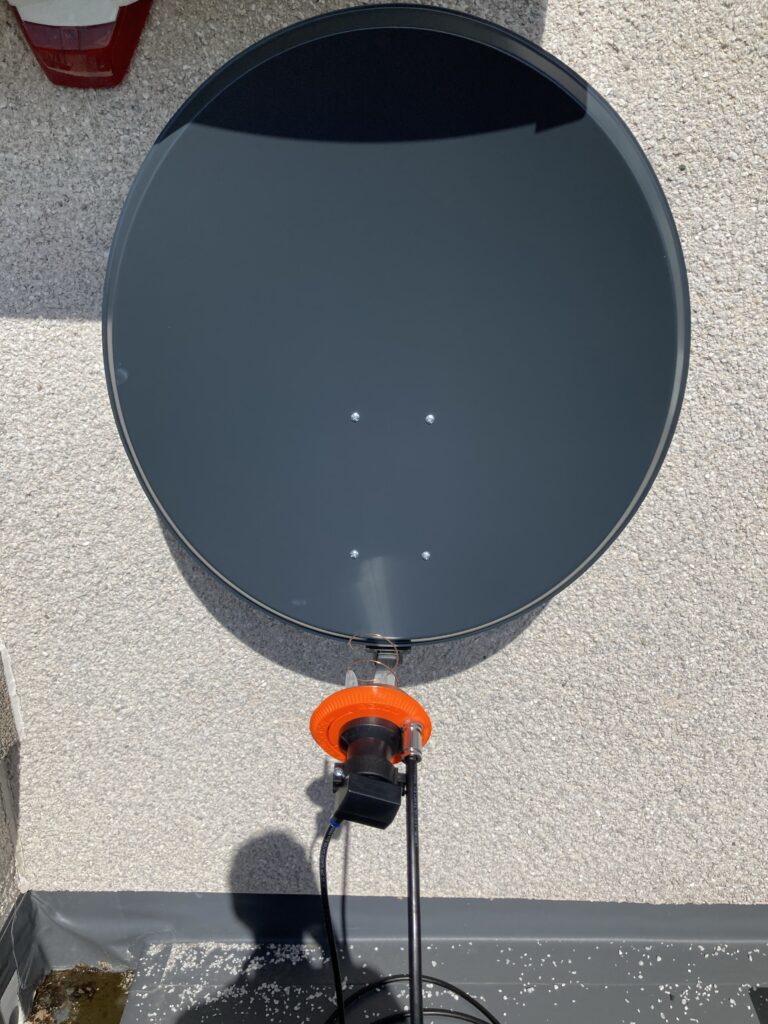
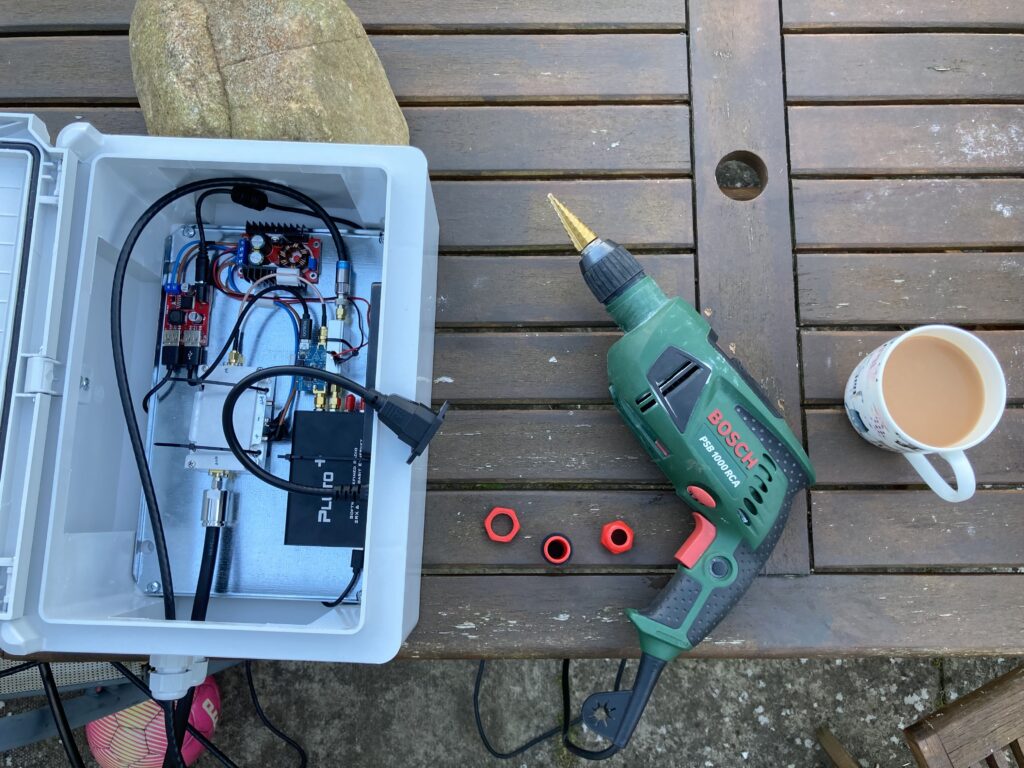
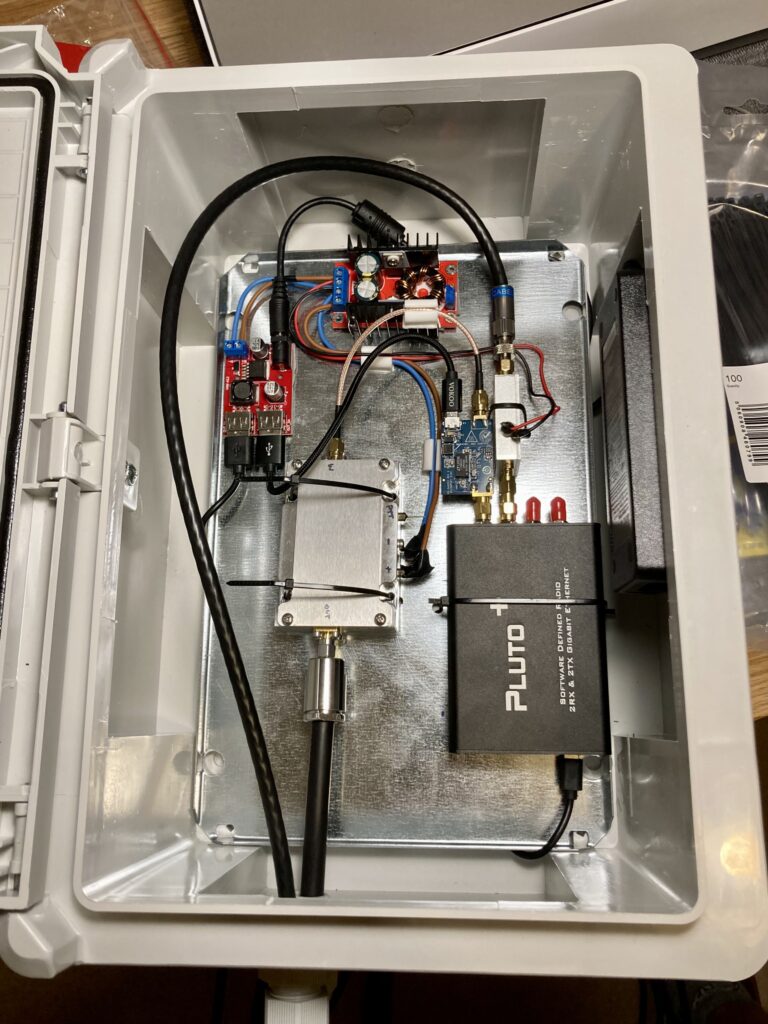
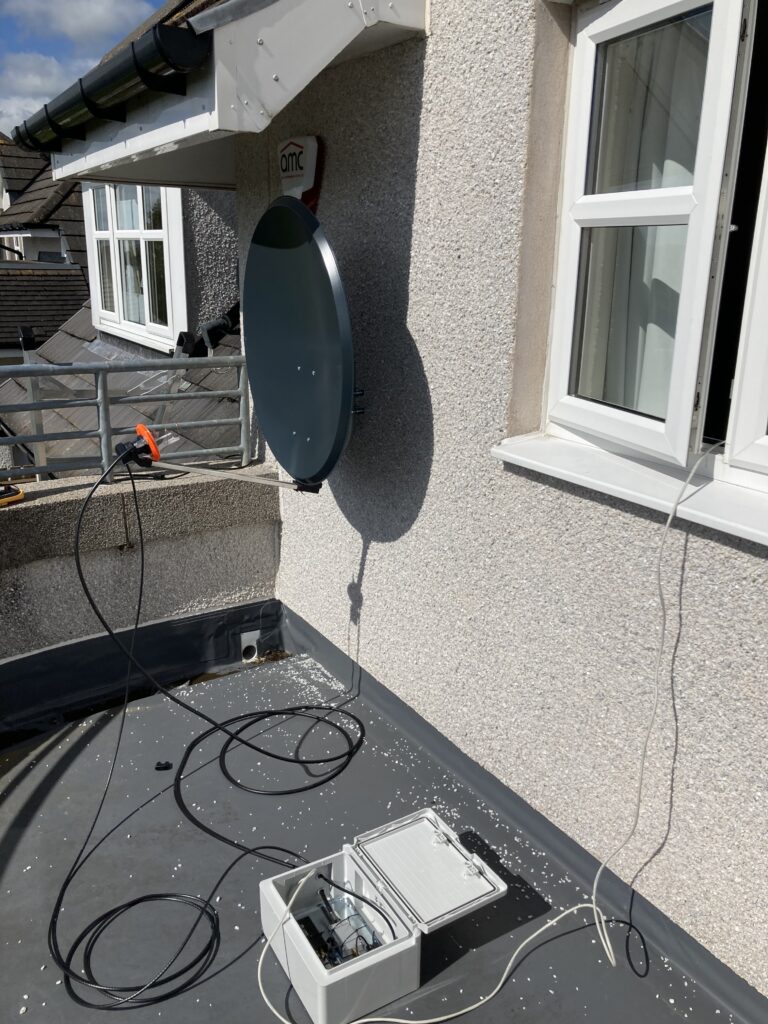
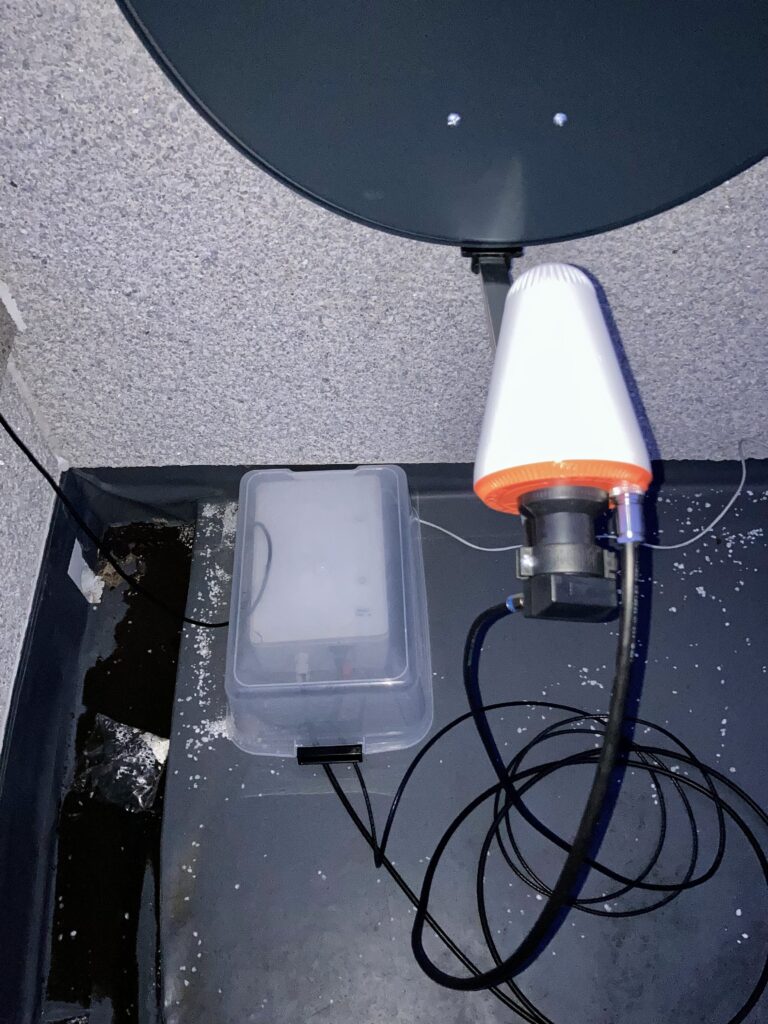
For the most part, it’s not tricky to build. There’s almost no soldering and it’s just joining things together once you’ve figured out the layout in the box and how you’re getting power and network to it. Depending on you situation this will be a breeze or a massive pain in the neck! I think my situation was somewhere in betewen, not easy but not impossible. Here are some photos of my build underway.
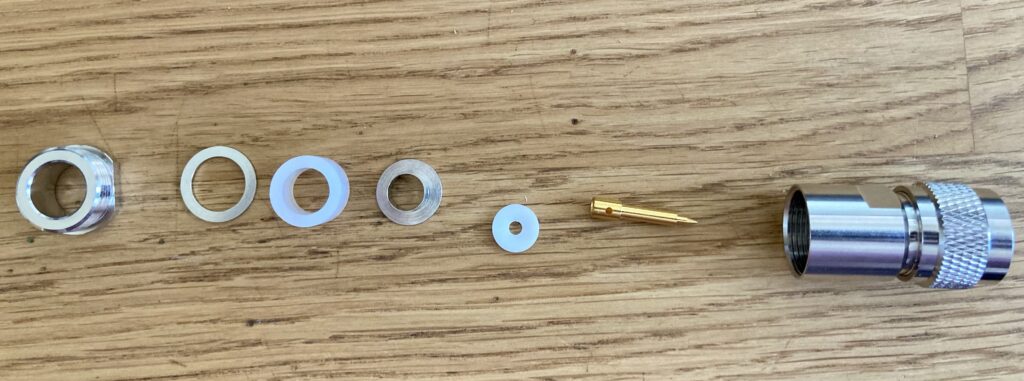
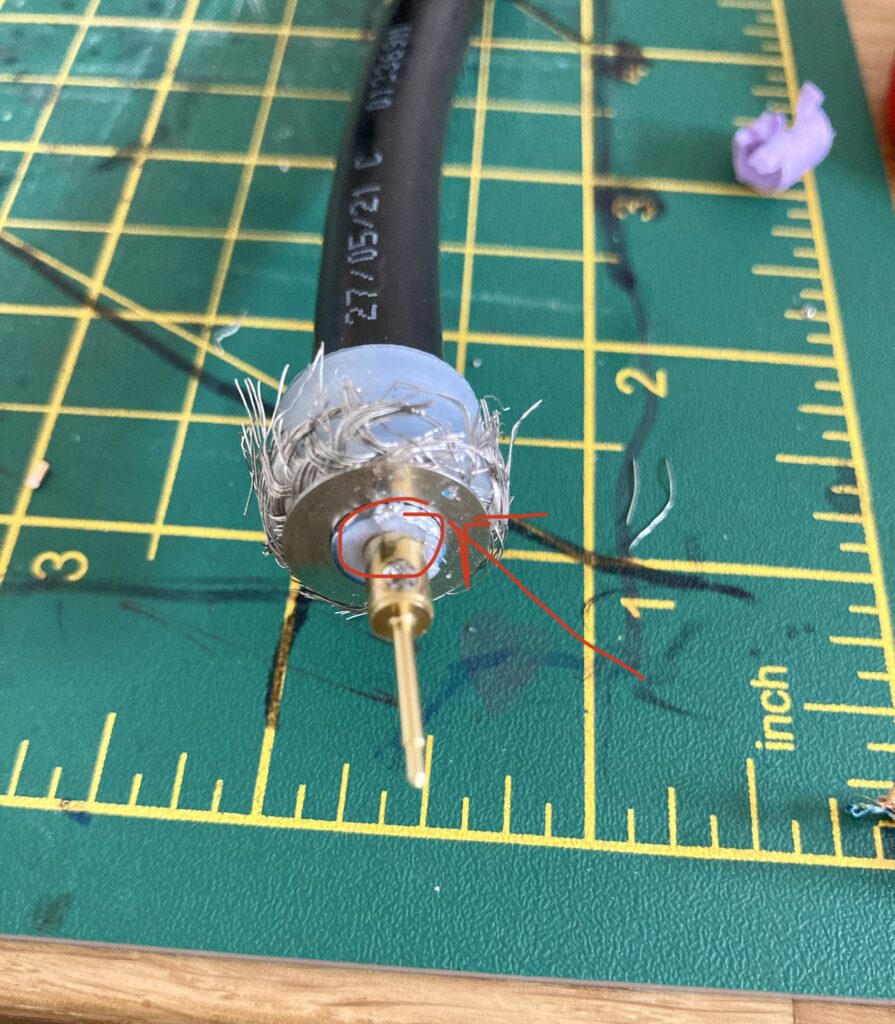
The hardest parts for me was making up the fancy fittings on the LMR400 coax. There was a N type and a SMA fitting and they both had several parts and soldering of the pin. I fell foul to the usual thing of forgetting a bit and cutting off slightly too much. I also didn’t have a pair of wire cutters that could get through the coax – it’s so thick! However, after making the ends up, I really like the cable, and going back to RG58 is like using thread after holding some rope!
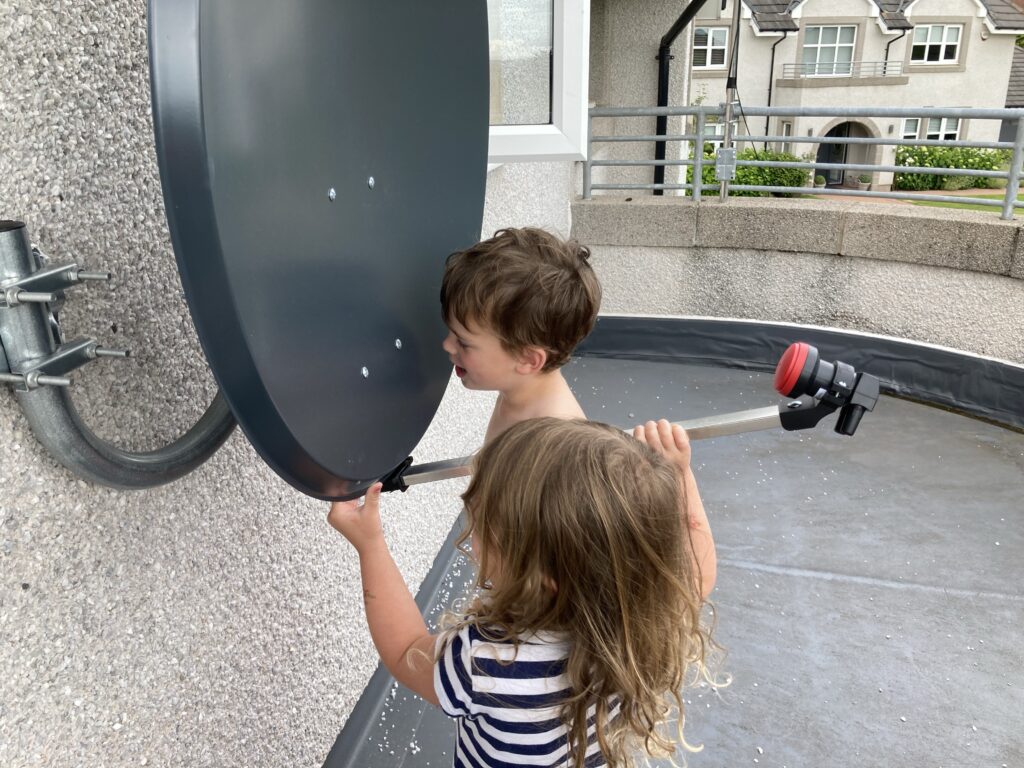
My dish is located on a fake balcony, so it’s out the way but also not very accessible. I have to get the ladders out each time or climb out a bedroom window, this usually put me off doing much on an evening as I couldn’t be bothered with the ladders, and one of kids was sleeping in said bedroom! Overall I was very slow at putting it all together, but if you could dedicate a day to it, then you’d finish it in one go.
At my QTH, the dish elevation has to be at 20.5 degrees. I found this to be the absolute lower limit for my dish, whereby the scale starts at 20 degrees, and I think for an 80 cm dish it only goes to 22 degrees. However, I receive signals well so that’s good enough. If you’re any further north you’ll have to get a non-standard mount, or possibly try installing it upside down, with the arm and LNB at the top. (This is for an offset dish).
Setting up the Pluto SDR
Before you pack the Pluto+ into the box, you’ll want to setup the networking on it and verify it works. It’s quite straight forward. You plug it into your computer’s USB via the data socket and it’ll show up as a drive. You want to edit the config.txt file, and find the section called USB Ethernet.
[USB_ETHERNET]
ipaddr_eth = 192.168.1.200
netmask_eth = 255.255.255.0
Set the IP to something for your network, ideally outside your router’s DHCP range. If you can’t do that, then give it an IP then set a reserved IP on your router for the Pluto+. I had to manually add a MAC address to the reserved IP, and now the router won’t give out .200 to anything else. Make sure you eject it/unmount it properly before disconnecting. You can then plug it into the network and see if you can ssh into it. The default username is root and password analog, and you should log in just fine.
You might also want to upgrade the firmware whilst you’re at it. DK1MI has a nice post on how to do that.
I found the Pluto+ would make a new SSH key each time it booted up, and so SSH would complain that it didn’t match from last time (known_hosts) and prevent me from logging in. I avoided this with this entry in my ssh/config file:
Host pluto
  HostName 192.168.1.200
  User root
  StrictHostKeyChecking no
  UserKnownHostsFile=/dev/null
Now I can just type ssh pluto and it greets me with the logon prompt. <security warnings etc.>
Networking
The Pluto+’s built in gigabit network port is very convenient. Connecting it to my network in its place under the dish wasn’t. My temporary solution was to run a cable out the bedroom window. This is fine as a temporary setup, and even okay overnight during the summer. However, it was not a long term solution. I am fortunate that my house was built with network ports in all rooms, but the room underneath the dish has network ports that are nowhere near the right side of the house for the dish. I also had the problem of getting it out of the house, as I’d rather not drill holes though the walls if I can help it.
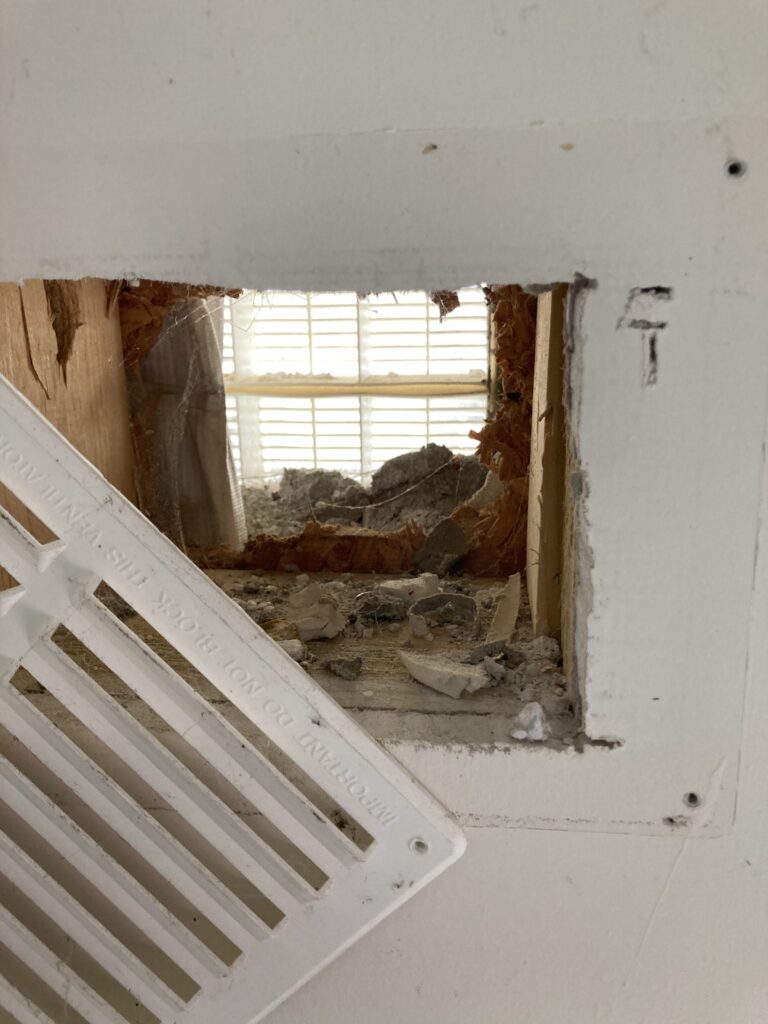
Our garage has the heating boiler in it, and so has several large air vents. These just have grills over them on the inside and outside of the house and so I decided one of these would be the perfect conduit for network cable to get out of the house. However, there are no network drops in the garage, and it’s a good 20-25 m along two walls of the house to get from the vent to the dish. I was wanting a network connection in the garage, as it’s where I plan on having a workbench/shack setup at some stage, and running cables isn’t exactly the hardest DIY one can do! A big drill bit, and a long spool of cable and away I went.
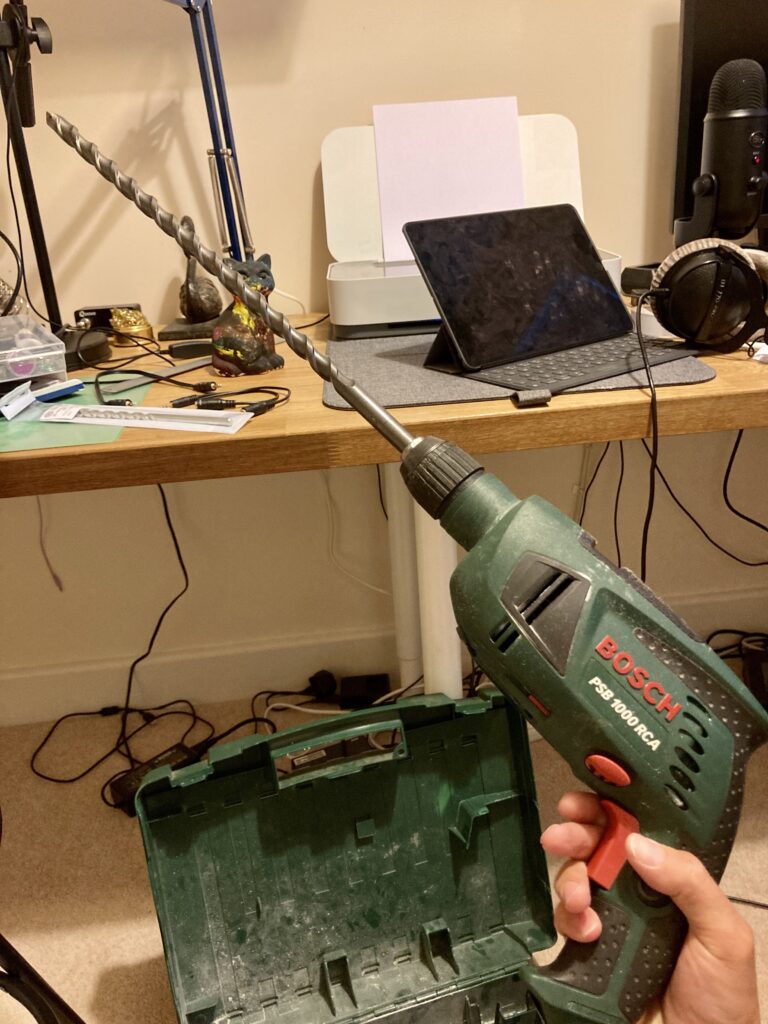
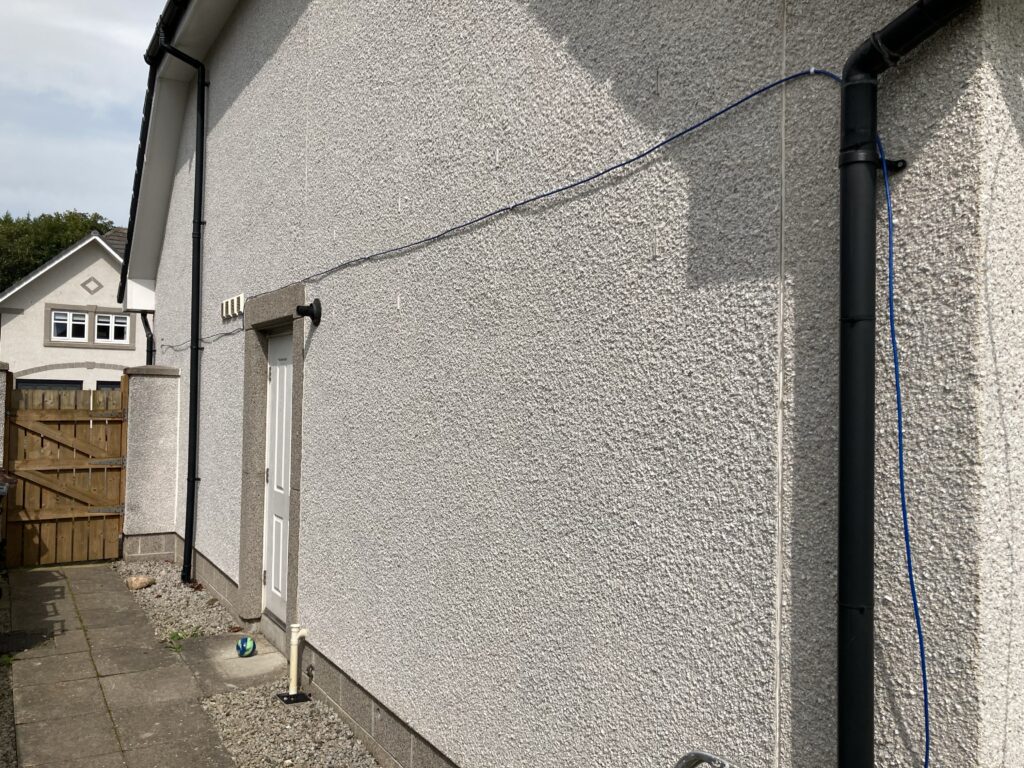
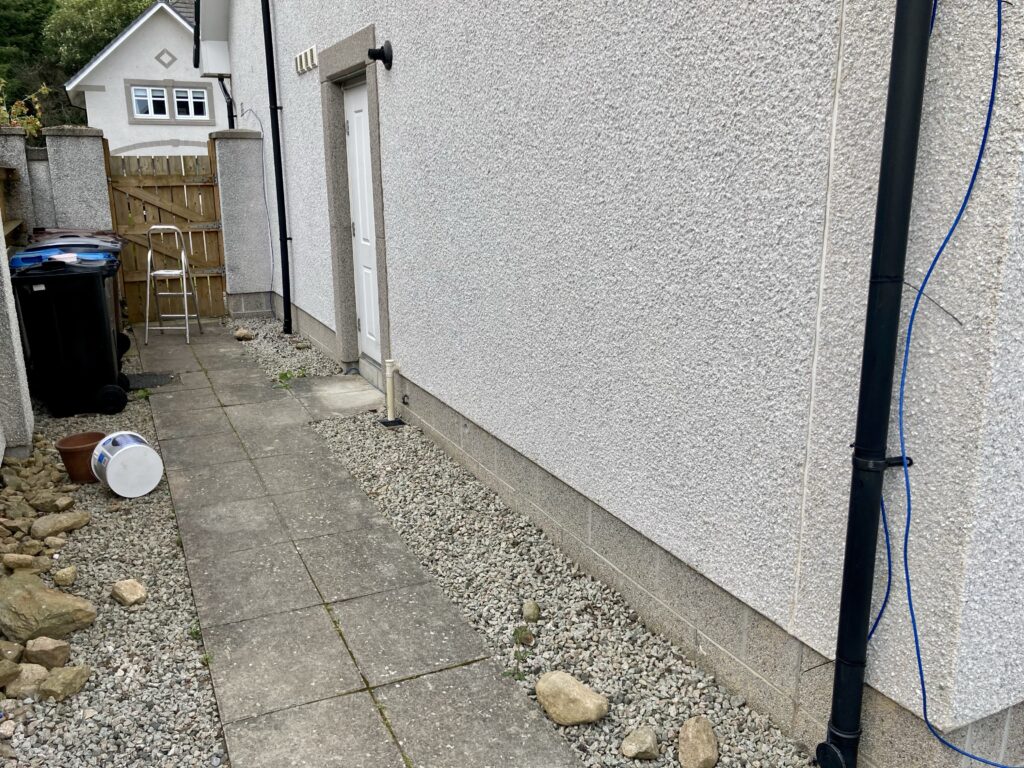
The office backs onto the garage, and makes a good place to connect into the network. I ended up getting three drill bits as the first wasn’t long enough, the second was for masonary and I hit wood, and then finally the 40cm wood bit went the whole way through! For a while I was worried I’d hit a water waste pipe, or worse, soil pipe, as the bathroom is above me, but it turned out to be a wooden stud. I tried running the wire along the wall outside, but it looked messy. Being dark blue against a light finish didn’t help, and so then I buried it in the gravel instead.
The only problem with the network cable is that the plug is made up inside the box, and so I can’t remove the box from its location. The coax is made up inside but I can disconnect the other end from the dish and just carry it with the box. The network cable is not quite as easy, given it’s 30m back to the network port. I left lots of excess, so if I really do have to move it, I can just cut off the plug and pull it out of the grommet.
I did think I could make an outdoor network switch, and have jumper cables between the boxes, and this would enable me to setup something else outdoors. Like raspberry pis, or other SDRs. I’d need a power setup but that would be fairly straightforward as there’s an external plug socket nearby. That’s a project for another day.
Next up will be the software!
